Tag: diy

Decking Kits: Building Your Own Deck is Easier Than You Think!

An outdoor deck is easily one of the best ‘wow’ factors you can add to your garden. It’s a luxurious upgrade to a lawn, especially if you loathe mowing grass. If you have a large area to work with, you can use a deck as an extension of your home, creating an entertainment space for summer (and winter if you add heaters!). However, the idea of building one yourself can be more than a little intimidating if you’re not experienced in DIY.

We wanted to offer you a fix for that.

We offer decking kits in all shapes and sizes that make it incredibly simple to build your own deck. If you can deal with flat-pack furniture, you can probably handle a decking kit.

What’s more is, they’re affordable and building it yourself will save you a considerable amount in labour costs. Did you know you can get decking kits for less than £115.88 (inluding VAT) at eDecks?

You can even get a decking kit cut to size, so don’t worry about a premade product not fitting well.

With all that in mind, here’s a blog to showcase the different types of decking kits you can choose from for your garden this summer!

Cut to size and easy decking kits

The easiest kits to build are the no-frills, standard decking kits. You can have these cut to size to fit your space perfectly. They come in several different colours, designs and materials – from composite decking to anti-slip, hardwood and softwood, you’re bound to find one that suits your taste.

These are your basic deck coverings and can be built on both pavement or flat ground.

Decking kits with handrails

If your garden is on an incline or you prefer the look, getting a decking kit doesn’t mean compromising on getting handrails. Your decking kit won’t limit you to what you can add to it. Just like a professionally built deck, you can add any handrail system you choose to any of our decking kits. Glass, metal, wood or rope – any will fit onto your new decking kit!

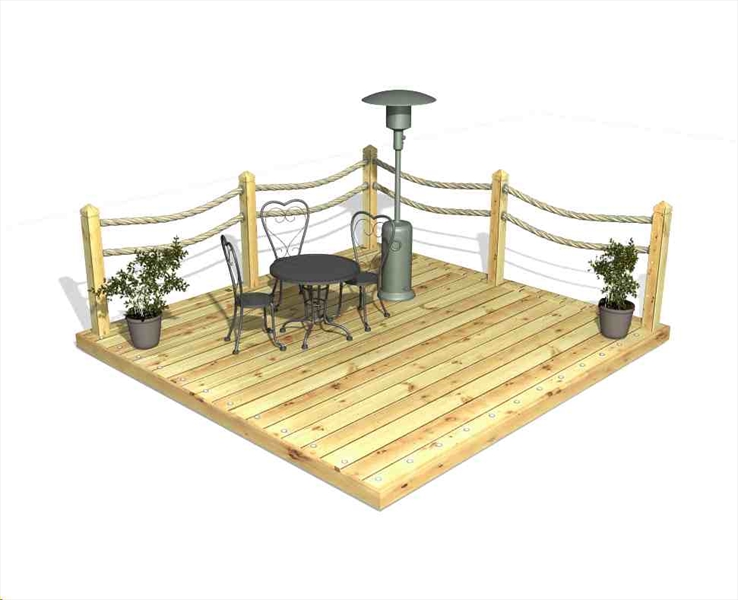
What’s more, you can even buy some of our decking kits complete with premeasured handrails. Here are our decking kits with rope handrails, starting from just under £300.

Decking kit with rope handrails
This decking kit is ideal for all decking and landscaping projects.

Decking kits with pergolas

If you fancy something more elaborate than a simple deck floor, a decking kit may still be a good option. Pergolas and handrails can make your new deck look outstanding, whether you want to create a small, serene place for vining flowers to cover, or full outdoor entertainment space with space to hang lighting and heat lamps.

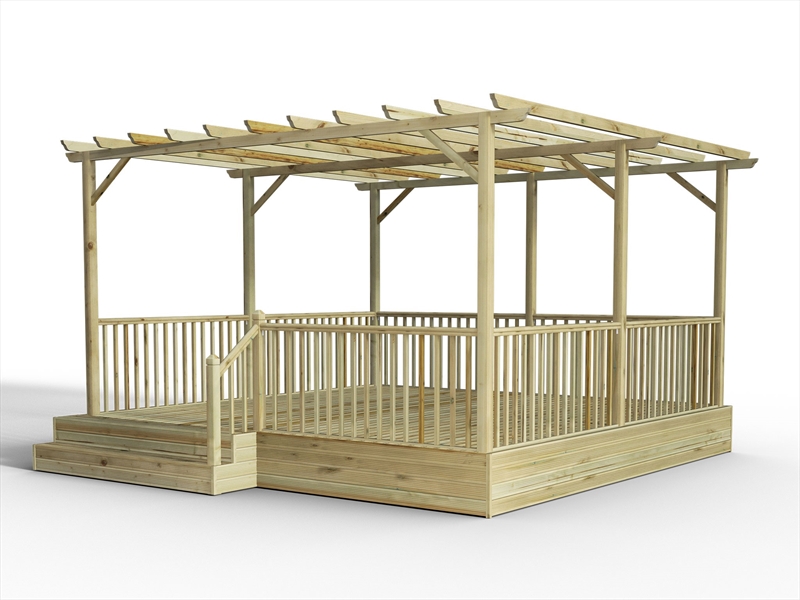
We have over THIRTY different decking kits with pergolas that come with many different combinations of pergola sizes and handrail style and placement. We particularly like “The Queen Anne”, a standalone deck with stairs and handrails that can add some serious wow factor to any garden.

And all in one ready-to-build kit!

The Queen Anne decking kit with pergola, hand rails & stairs.

Remember, if there’s a combination you have your heart set on that you don’t see on our site, get in touch and we will try our best to help you get the deck you’re looking for!

Composite decking kits

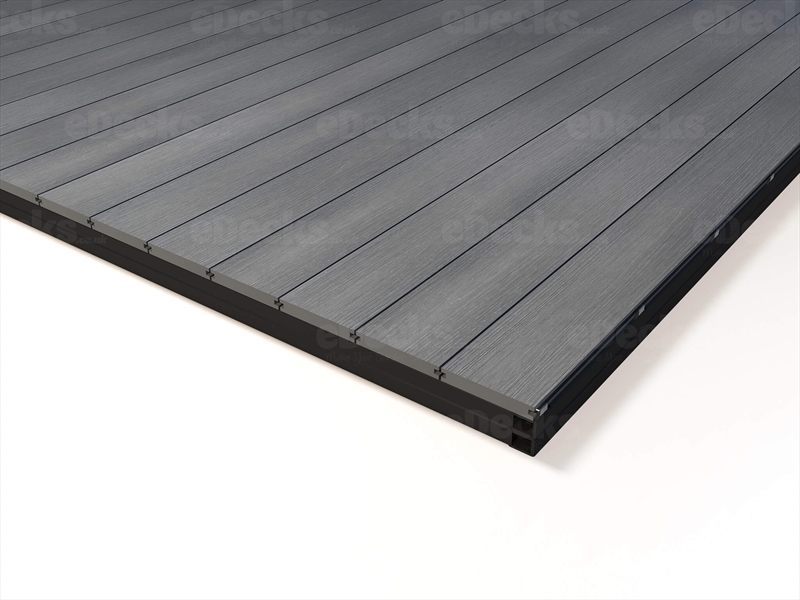
Just because you want the very best composite for your decking, doesn’t mean you can’t build it yourself.  Composite is a great decking material, offering longevity and very low maintenance and is pretty easy to work with too.

Longevity & low maintenance.

You can check out our composite decking kits right here.

[Pro tip: If you do want to take the plunge and build your composite deck from scratch, we also have a handy guide on how to figure out the components you’ll need for your deck here.]

Hot tub decking kits

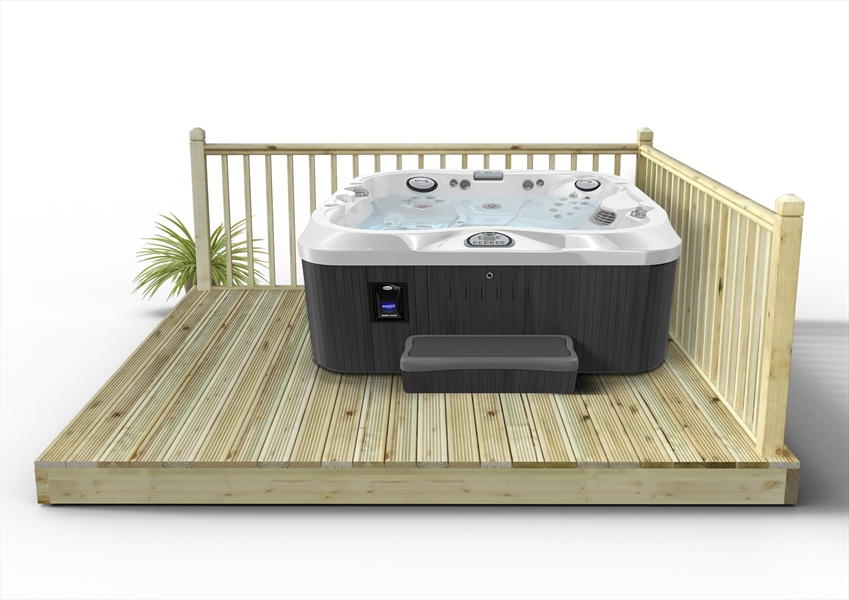
Not many of us will be jet setting on holiday this year, so you might be considering bringing a bit of relaxation to your home with your very own hot tub. We have a full set of decking kits designed with that need in mind and, thankfully, they don’t have to cost as much as the hot tub did!

Starting at just £377.37, you can build your own deck for your new hot tub easily with one of these specially created decking kits.

Supplied with extra joists for the extra weight.

Don’t panic if you’re not on flat ground

If you live on an incline, it doesn’t mean you can’t build your deck yourself. We don’t just offer decking kits, but also kits for making decking steps. If you want more help to figure out what kind of steps you may need, don’t hesitate to get in touch – we’re happy to help.

What’s in a decking kit?

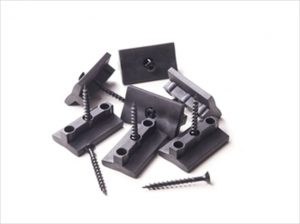
All decking kits come with all the fixtures and fittings you’ll need along with all of the pre-cut boards and installation instructions you’ll need. You can also find instruction leaflets direct on our website, on your chosen decking kits product page. If you’re struggling or are unsure about anything, you can always talk with us either by phone or on our online chat service; we’re here to make sure you get the deck you want, installed properly.

Whatever kind of deck you’re looking to build, remember if you can’t find your perfect “ready-made” deck kit here at eDecks, you can always get in touch and see what we can put together for you. It’s easier than you think!

Don’t forget to check out the deals on eDecks. We have incredible prices and are entirely online, so we can get everything you need delivered directly to your door. We also offer plenty of support and expert advice for anyone who’s looking to build their own deck at any level. At eDecks you can not only expect a good deal but also:

Call: 0844 474 4444

Email: [email protected]

Superfast FREE delivery on orders over £150*

Super fast delivery on many products

Handy FREE installation guides (and even instructional videos!)

Incredible prices on all of our decking materials (and frequent big discounts!)

*Free delivery applies to most of the UK, but some areas may incur a charge, unfortunately – please check the eDecks website for more details.

Composite Decking Area: How To Work Out The Components Needed

Here at eDecks, we are the Kings of Decking, with more and more decking styles and varieties appearing on our website, as we always strive to better ourselves and keep our customers happy. Therefore we have put together a guide on how to work out the components needed to create your perfect composite decking area.

evergrain composite

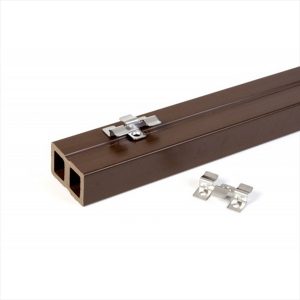
Fixing Clips: You will need 23 clips per square metre.

Formula: Square meterage x recommended amount

For example, if you have 45 square metres x 23 = 1,035 fixing clips.

Or, you can also work it out as roughly 12 clips per board.

fixing clip

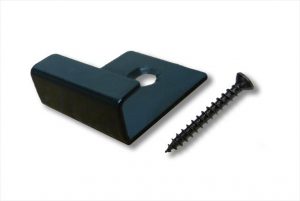
Starter Clips: You will need 12 starter clips to run on the first board.

If you have over 50 decking boards, we recommend doubling the amount of starter clips and so on.

starter clip

Angle Brackets: If you are using composite joists, please see below.

To find out the amount of brackets you require you will simply need to have double the amount of joists you have.

Each angle bracket requires 4 screws.

If you are using timber joists you will not need the brackets.

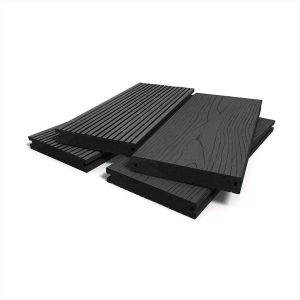
real groove

Joists: Because composite deck boards are heavy, the joists will need to be laid every 300mm.

If you have an area of 3.6m x 3.6m, the total area would be 12.96 square metres.

To work out the joists for this, you would calculate it as 3600 ÷ 300mm = 12.

You will also need to add on an extra 4 joists to go on the outskirts of the frame to complete the area.

deck joist

Decking Boards: No matter what size decking you use you will need to add on 5mm to the width of the decking to factor in the recommended gap.

For example, if the width is 145mm (Real Groove), you will need to do the calculation as 151mm in width.

Formula:
1000 ÷ by the width of the board (plus the 5mm gap)

1000 ÷ 151 Times this by your square meterage and then divide by the length of the board you are using.

If you have an area of 12.96 square metres and are using the Real Groove decking, please see below.

1000 ÷ 151 x 12.96 ÷ 3.6m = 26 boards at 3.6m lengths.

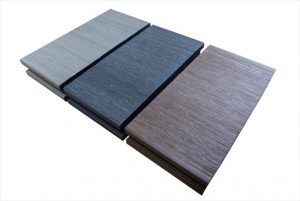
infinity composite

eDecks offers some of the best deals on Composite Decking around, including all of the installation supplies and tools you may need. Don’t forget that if you need any further help figuring out your decking, then our friendly and professional sales team are always on hand to take your calls on 0844 474 4444. Not only do we provide plenty of unbeatable deals but also:

Super-fast FREE delivery on orders over £100*

48 Hour Delivery on many products

Handy FREE installation guides and instructional videos

*Free delivery applies to most of the UK, but some areas may incur a charge. Please check the eDecks website for more details.
Indian Stone Paving: Installation Guide

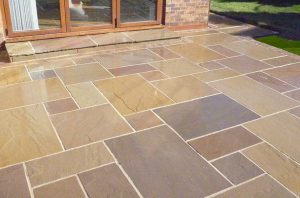
Here at eDecks we have a wide range of Indian Stone Paving and so we have put together an installation guide to help you with your project.

Step 1: Digging the Foundation

You will need to allow 150mm for foundation mix and paving, and if you are laying the stone directly next to a house then the finished patio should be at least 150mm below the damp proof course. This means that you will need to dig out the area to a minimum depth of 300mm below the damp proof course.

To ensure that water does not collect on the stone, the foundation needs to have a fall of 1 in 60, which means a one centimetre of fall for every 60cm of width. For example, a 3m wide patio will need 5cm or 50mm of fall.

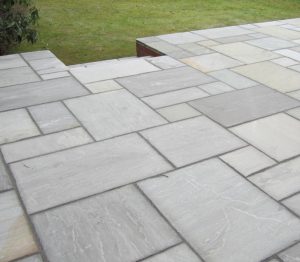
indian stone

Step 2: Preparing the Foundation Base

To create the firm foundation, use a concrete mix of 6 parts all in one ballast with 1 part cement. Mix and add enough water to dampen the mixture just enough so that it binds together. Cover the entire area with the mix to a depth of 75mm, level it out with a shovel and then tamp down using a length of timber or trample down with your shoes.

Step 3: Mortar Preparation

Lay the Indian Stone Paving slabs on a full mortar bed, which should support the whole slab, and not just the corners. You must ensure that there is contact with the whole of the back of the slab and the mortar. To create the mortar mix, use 6 parts sharp sand to 1 part cement and mix together with just enough water to make it damp and workable, but not overly wet and runny. It is important that ALL granite paving must have a cement and SBR liquid slurry mix painted on the entire back on the slab before fixing. If you do not do this, it may result in the slabs drying out at different rates and causing patchiness or effect the surface of the slabs.

Step 4: Laying the Paving

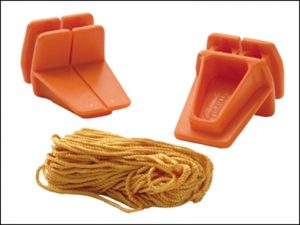
Begin by setting up 2 taut string lines to guide both the line and the level of the paving. One line should run down the length of the patio and the second line side to side, with one including the fall for drainage. Start from the corner and work your way outwards from there. All paving must be mixed and blended together and laid dry before any installation. If you have several sets of Indian Stone, we recommend you using slabs from all sets to ensure you have an even blend.

string line

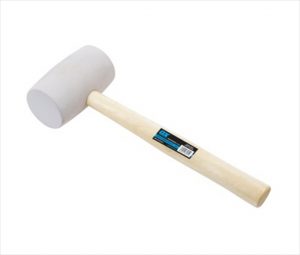
Spread out mortar to cover an area slightly larger than the paving slab you want to lay and high enough to allow you to tap down the flag to the correct level. The bed should be approximately 30-40mm which will squash down. Lift and lower the slab into place and be careful not to catch the corners. Use a rubber mallet to start tapping it down and hit the paver, firmly but not too hard, at a point which is roughly midway between the centre of the paving slab and each corner along imaginary diagonals. Move around the paving, tapping in succession until the flag settles down to the correct level.

rubber mallet

Ensure you check that the paving is level by using a spirit level and that you have included a fall, and then start to lay the rest of the paving, leaving joints as required. Once laid, the area should then be left for at least 24 hours to allow for the bedding mortar to harden and should not be walked on.

spirit level

Step 5: Jointing the Paving

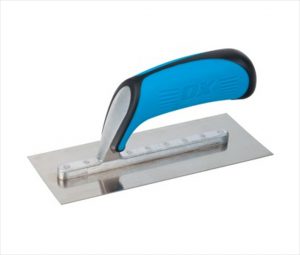
To joint the paving, use a mortar mix of three parts soft building sand to one part cement and mix it slowly adding a little water at a time until you reach a smooth, damp consistency – not wet or sloppy. A plasticiser can be added to make the mortar easier to work with. Use a trowel or pointing gun to put the mortar into the joints, pressing it down and smoothing over using a pointing bar if necessary. Be careful to avoid any mortar going onto the surface of the paving slab as this could end up staining the slab. If this does happen it should be wiped off immediately.

plasticisertrowel

Once the mortar has hardened, all you need to do is then give the area a good sweep and that’s the job done!

indian stone umbra

eDecks offers some of the best deals on Indian Stone Paving around, including all of the installation supplies and tools you may need. Not only do we provide plenty of unbeatable deals but also:

Super-fast FREE delivery on orders over £100*

48 Hour Delivery on many products

Handy FREE installation guides and instructional videos

*Free delivery applies to most of the UK, but some areas may incur a charge. Please check the eDecks website for more details.
Garden: The Perfect Easter Egg Hunt Hiding Places

The Easter Bunny will soon be gracing us with his presence, and so to get you well prepared, today we are giving you plenty of ideas of where to hide all of those glorious chocolate eggs in your garden ready for the best Easter Egg Hunt your children could wish for.

easter rabbit

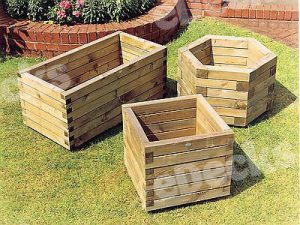
Planters: Our Planters start at just £10.39 and are an excellent place to hide your child’s favourite Easter egg! Of course, they are also an excellent product to grow colourful flowers, plants and herbs all year round. You can read more about our full range of Planters here.

planters

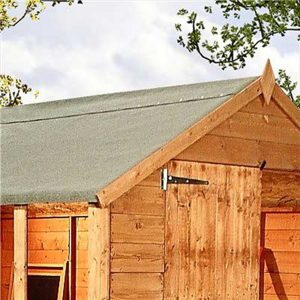
Sheds: If you fancy more of a challenge, then how about building your very own shed? This way you can create the size and design to exactly your requirements and just think of the hiding place possibilities for those Easter eggs – or even the Easter Bunny depending on the size of your shed. You can find eDecks’ guide to building your own shed online here.

shed

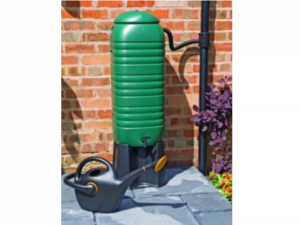
Water Butts: Now these probably wouldn’t be the best hiding place when full of water, but once you have finished hiding those treats, water butts are perfect for collecting and storing rainwater. We offer two different sizes to suit your needs and offer a whole variety of accessories including stands upon which to put them.

water butt

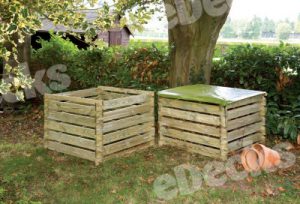
Composters: Our wooden compost bins are a garden essential and are available in small, medium and large. They are manufactured from pressure treated timber and can hold a whole range of things, whether it be compost, eggs, or even as a storage unit for your gardening bits and bobs.

compost bin

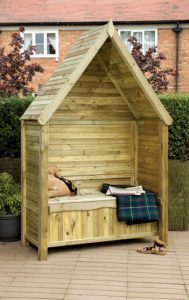
Pergolas/Arches/Arbours: Our wide range of pergolas, arches and arbours provide a numerous amount of hiding places, as well as offering a peaceful haven within your garden to sit and relax and enjoy your garden, especially in the upcoming Spring and Summer months. You can read our recent blogpost on these online here.

arbour

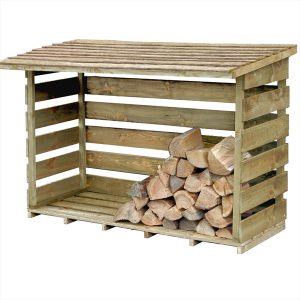
Log Stores: If you are lucky enough to have a cosy log fire in your home, then you may want to consider our Log Stores. They are available in three different sizes and keep your logs dry, organised, tidy and free from damp. Our log stores are made from pressure treated timber which helps protect against fungal and insect decay. They make excellent hiding places too – whether for an Easter Egg Hunt or simply for yourself when the kids are driving you mad!

log store

Aggregates: If you want to make your Egg Hunt slightly more challenging, then how about burying them under some of our stunning aggregates and gravels? They come in all colours, textures, sizes and shapes and you can read more about them in our Aggregates and Gravels blog post online here.

aggregates

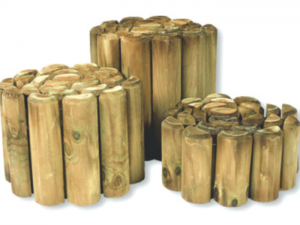
Log Roll: Whilst hiding gifts and treats amongst your flowers, how about adding a log roll to your flowerbed? They are available to buy in different sizes and keep compost, flowers and plants neatly in order without spilling out onto your grass or paving area. They come ready FSC treated and wire backed ready to lay down in just minutes!

log roll

These are just a few examples of excellent Easter Egg Hunt hiding places, but we have many, many more online at eDecks. We hope you have a very enjoyable Easter weekend and we thank you for being our customer, whether new or old!

Love from Everyone at eDecks xxx

Our Easter opening times for placing orders are:

Good Friday 8am-5pm

Saturday 31st March 8am-4pm

Easter Monday CLOSED

Tuesday 3rd April 8am-5pm

Anti-Slip Decking v Standard Decking

Decking is an attractive and useful upgrade to any garden, as well as helping you to avoid the upkeep of mowing the lawn. But with so many options out there, it can be difficult to choose the kind of decking which is best for yourself and your garden, so eDecks are here to help you decide between anti-slip decking and standard decking. The main types of decking materials that you will find will be softwood, hardwood, composite and anti-slip.

buff and brown

Softwood decking comes from fast growing trees such as pine, which is quickly replaceable. This then makes this decking material the cheapest option, but it is weaker than a hardwood or composite decking.

Things to know about Softwood Decking;

  • The cheapest decking material
  • Easy to install
  • Requires the most maintenance (cleaning and treating with oils is recommended for longevity)
  • Lasts up to 25 years when well maintained
  • Colour and finish is easily changed

Hardwood decking comes from slower growing trees such as oak, which can be far rarer and therefore are often the most expensive decking option. Hardwoods can pay off though – not only are they more aesthetically pleasing but they usually last longer than softwood and require much less maintenance.

Things to know about Hardwood Decking;

  • The most expensive material
  • Harder to work with (but eDecks provides plenty of guidance and support)
  • Requires much less maintenance than softwood
  • Can last for over 50 years
  • Can look the most impressive

If you live in a particularly wet part of the UK, or you’re planning on adding a high-risk slip area to your deck, such as a hot tub, you may want to consider how you will make your deck safer to use. Anti-slip decking is a perfect solution for this, or whether you have young children, or are simply unsteady on your feet.

charcoal and red

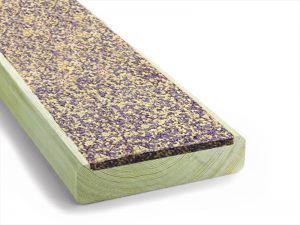
If you know your deck is likely to face a great deal of water and heavy foot traffic, getting full anti-slip boards may be your safest option. Full anti-slip boards feature large inserts that cover the majority of the board with a rubbery material that is not only waterproof but more importantly – slip resistant. This means that you will still be able to walk across your decking safely, even when covered in large puddles of water.

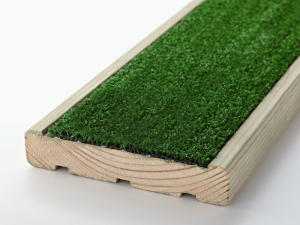
These are the best decking boards you can get to avoid accidents and will have the best grip, so if you are looking for a very safe deck or if you are decking an area near a pool or hot tub, we would highly recommend using these boards. Anti-slip strips aren’t always to everyone’s taste aesthetically, but you can get them in a variety of different colours to suit your deck – there are even grass look decking boards if that is something you feel would fit your garden.

grassedeck

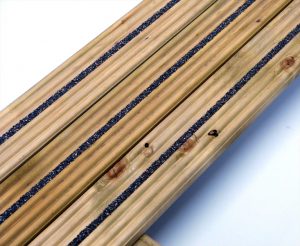
If your decking isn’t used as a splash deck, but will still be exposed to water, you could invest in some anti-slip decking with built-in anti-slip strips. These decking boards look very chic and the anti-slip strips are probably the least noticeable of any option – so if you’re wanting a good looking wooden deck, but with the extra safety of anti-slip features, these are the boards for you.

anti slip strips

Made with thin anti-slip strips of material made of resin and aggregate, each line of anti-slip material can easily be mistaken for a shadowed groove instead of a safety feature. Because of the incredibly professional finish, these can be a popular but more expensive option, however, we would always recommend speaking to one of our friendly yet professional sales team before being put off by price as we always offer incredible decking on many types of decking. You can even buy samples of all decking options to ensure you pick the best product for you and your deck.

To conclude, anti-slip boards will last the same amount of time and need the same treatment as standard softwood decking boards and this goes for the hardwood option too. Hardwood decking and anti-slip hardwood decking will last the same amount of time as each other and will also require the same treatments. The only difference between Softwood, Hardwood and Anti-Slip Decking boards is the fact that they have the grit inserts running through the boards and will be a lot more comfortable under foot than your normal decking.

green and buff

eDecks offers some of the best deals on Anti-Slip and Standard Decking around, including all of the installation supplies and tools you may need. Not only do we provide plenty of unbeatable deals but also:

Super-fast FREE delivery on orders over £100*

48 Hour Delivery on many products

Handy FREE installation guides and instructional videos

*Free delivery applies to most of the UK, but some areas may incur a charge. Please check the eDecks website for more details.
Navigation