
Is your once beautiful deck now marred by a failed coating? Don’t fret! We have the solution you need to restore your decking to its former glory. In this comprehensive guide, we will walk you through the steps of removing a previously failed coating and preparing your deck for a fresh start. Whether you’re dealing with old stains, unsightly grade stamps, or peeling paint, we’ve got you covered. So let’s dive in and discover how to bring new life to your deck!

Assessing the Previous Finish
Before diving into the removal process, it’s crucial to determine the type of coating that was previously applied to your deck. This will help you select the most suitable product for effective removal. Here are some common scenarios and the corresponding recommended products:
Stripping Oils: Ronseal
If your deck has been coated with oils, whether new, old, or encrusted, Ronseal Decking Stripper is the ideal solution. This powerful stripper effectively removes oil-based finishes from exterior wooden surfaces without damaging the wood itself.

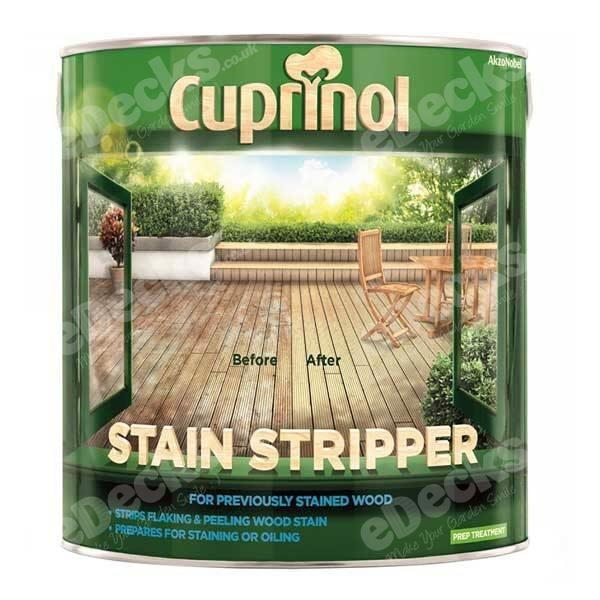
Tackling Paints, Varnishes and other finishes: Cuprinol
When faced with an oil- or alkyd-based paint, varnish, or wood stain on your decking, Cuprinol is the perfect choice. This versatile stripper cuts through these stubborn coatings with ease. For decks with old solid or semi-transparent stains or finishes, Prepdeck is your go-to product. It effortlessly eliminates these unsightly coatings and prepares the wood for a fresh application.
Dealing with Paints: Ronseal
If your deck has been painted with single or two-pack paints, Ronseal is what you need for your decking. This specialized stripper effectively removes even the toughest paint layers from wooden surfaces.
The Removal Process
Now that you have identified the appropriate product for your situation, it’s time to jump into the actual removal process. Here’s a step-by-step guide to help you navigate through it:
Step 1: Prepare the Area
Begin by clearing your deck of any furniture, plants, or other obstructions. This will create a clear workspace and prevent any potential damage to your belongings.
Step 2: Apply the Stripper
Follow the instructions provided with your chosen stripper product. Generously apply the stripper to a small section of your deck using a brush or roller. Make sure to work in manageable sections to maintain control over the process.
Step 3: Let It Soak
Allow the stripper to penetrate the failed coating according to the manufacturer’s recommendations. This typically ranges from 10 to 30 minutes but may vary depending on factors such as temperature and previous finish thickness.
Step 4: Agitate and Remove
Using a stiff scrub brush or scraper, agitate the softened coating to loosen it from the wood surface. Work in small circular motions until you see flakes of old finish coming off. Once loosened, scrape or brush away these remnants.
Step 5: Rinse and Neutralize
After successfully removing the failed coating, rinse your deck thoroughly with water to wash away any remaining residue. Next, neutralize the wood using a product like Net-Trol. This crucial step stops any residual effects from the stripper and prepares your deck for refinishing.
Conclusion
Removing a previously failed coating from your decking doesn’t have to be an overwhelming task. By selecting the appropriate stripping product and following our step-by-step guide, you’ll be well on your way to rejuvenating your deck’s appearance. Remember, whether you’re dealing with oils, stains, paints, or varnishes, there’s a solution out there for you! Take that first step towards restoring your deck’s natural beauty and creating an outdoor space you can truly enjoy.