

Dryzone Damp-Proofing Cream is a high-performance injection cream which is used to treat rising damp. It is the most rigorously tested and accredited remedial damp proofing treatment on today’s market. In this post you will find everything you need to know in order to apply Dryzone in your own home.
Rising damp is where groundwater rises up through a wall via capillary action, the ability of a liquid to flow along narrow spaces, counter to the forces of gravity. Bricks and mortar can be very porous and contain many fine capillaries, through which water can then rise. The groundwater that rises up through the wall often contains salts that can contaminate plaster and cause lasting decorative spoilage, hence why protecting your walls with Dryzone can be very valuable.
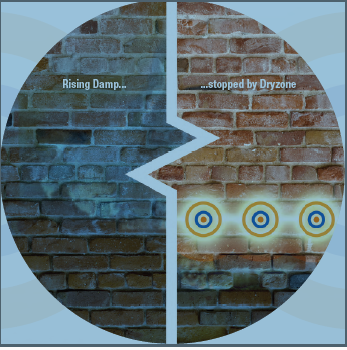
Dryzone Damp-Proofing Cream is a water-based silicone cream that spreads and bonds with sand, cement and mortar. Any continuous sand, cement or mortar line that has been treated with Dryzone then becomes a damp-proof course. Due to it being a high-strength cream. Dryzone provides over five times more active ingredients to a wall, over a wider area, than other low strength competitors, making it longer lasting and more effective.
Installing this is quick and easy to do, and our step-by-step guide provides you with everything you need to know on how to use damp proofing cream to damp-proof a standard brick wall.
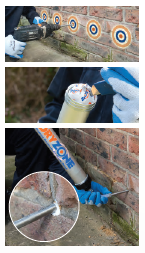
- Drill holes: You will need to drill holes at 120mm centres along the mortar course of the wall to be damp-proofed using a 12mm drill-bit. Holes should be drilled to a depth slightly less than the thickness of the wall. See Guide below.
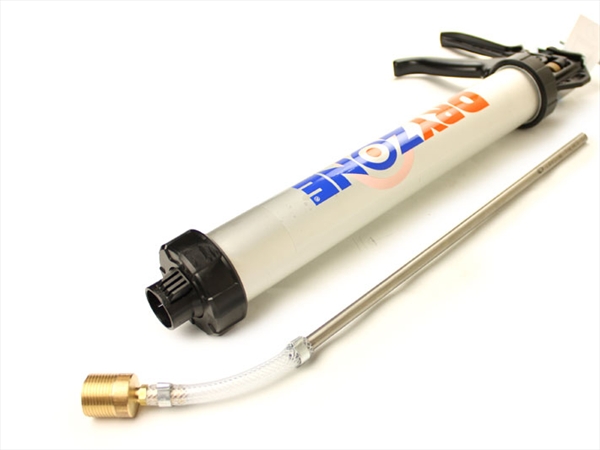
- Prepare Gun Stage 1: Unscrew the nozzle attachment from the Dryzone gun and insert the Dryzone cartridge.
- Prepare Gun Stage 2: Pierce the Dryzone cartridge using a sharp knife.
- Inject Dryzone: Replace the nozzle and screw tight. Insert the nozzle into the Dryzone gun into the full depth of the first pre-drilled hole. Squeeze the gun trigger and back-fill the hole to within 1cm of the surface. When damp-proofing cavity walls, make sure that the holes in each leaf are filled.
- Finish: Fill the rest of the holes with the damp proofing cream in the same manner. When treating plastered walls, the plaster will have to be hacked off and replaced.
Depth and Distance of the Drillholes:
| Wall Thickness | 110mm | 220mm | 330mm | 440mm |
| Depth of Drillholes | 100mm | 190mm | 310mm | 430mm |
| Distance between Drillholes | 120mm | 120mm | 120mm | 120mm |
How Many Tubes of Dryzone Will You Need?
| Wall Thickness: | 110mm | 220mm | 330mm | 440mm |
| Length of Wall: | ||||
| 10m | 1.5 | 3.0 | 5.1 | 7.0 |
| 20m | 3.0 | 6.0 | 10.2 | 13.0 |
| 30m | 4.6 | 9.0 | 15.3 | 21.0 |
eDecks offers some of the best deals on Dryzone around, including all of the installation supplies and tools you may need. Not only do we provide plenty of unbeatable deals but also:
Super-fast FREE delivery on orders over £100*
Free Installation Guide
*Free delivery applies to most of the UK, but some areas may incur a charge. Please check the eDecks website for more details.