

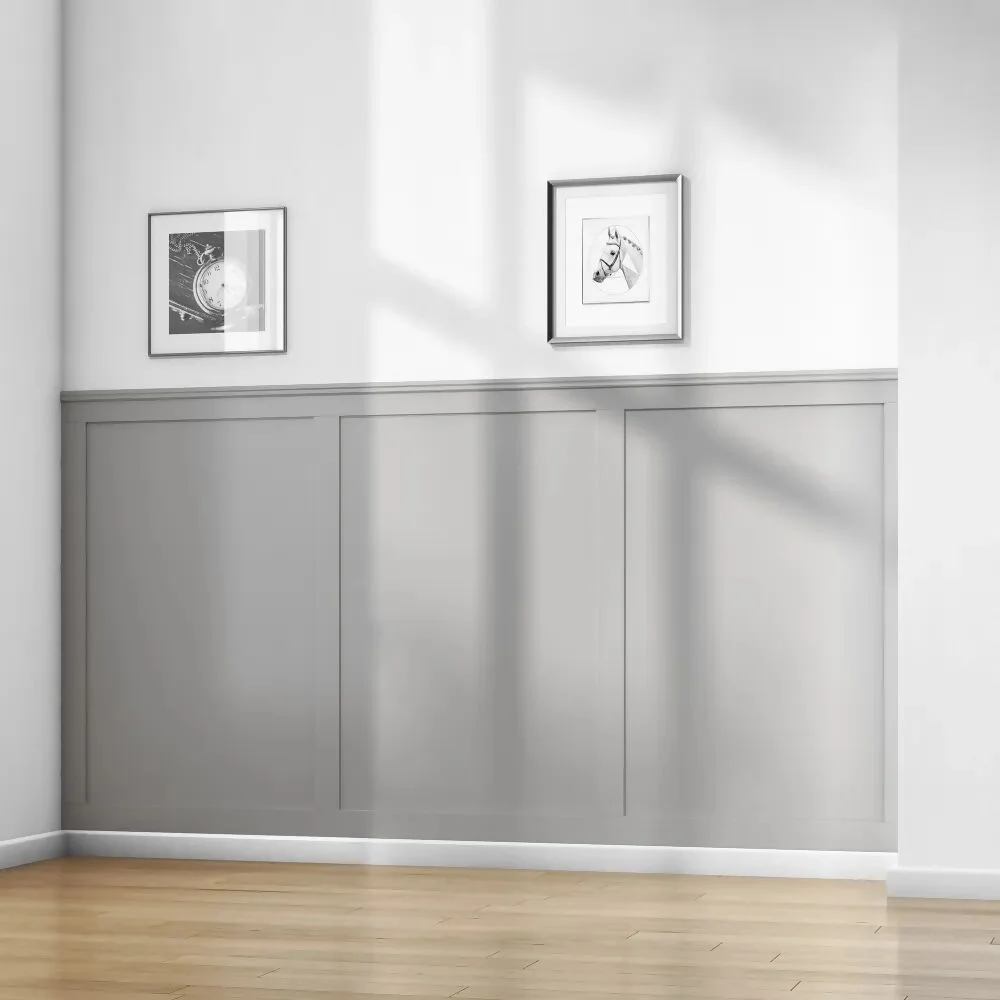
MDF (Medium-Density Fibreboard) wall panelling is a stylish, affordable, and practical way to enhance your home’s interior design. If you’re a DIY enthusiast looking to inject some character into your living space, this guide will help you navigate the process of assembling MDF wall panelling.
Materials and Tools
Firstly, make sure you have the following materials and tools ready: MDF wall panels, a fine-toothed saw, adhesive, finishing nails, a nail gun (optional but recommended), a spirit level, a tape measure, and safety gear such as goggles and gloves.
Step 1: Measure Your Wall
Start by measuring the dimensions of the wall accurately using a tape measure. It’s crucial to ensure that your panels fit perfectly. Make a note of these measurements.
Step 2: Cut Your Panels
Use the measurements to cut your MDF panels to the required dimensions with the fine-toothed saw. Always remember: Measure twice, cut once!
Step 3: Apply Adhesive
Apply adhesive to the back of the first panel. Ensure you cover the entire surface, paying extra attention to the edges for a secure fit.
Step 4: Position Your Panel
Place the panel onto the wall, starting from a corner and working your way across. Use a spirit level to ensure the panel is straight. Press firmly to secure it in place.
Step 5: Secure with Nails
For added security, use finishing nails and a nail gun (or hammer if you don’t have one) to secure the panel to the wall. Always wear safety gear to prevent injury.
Step 6: Repeat with Remaining Panels
Repeat the process with the remaining panels. Ensure all panels align perfectly with each other and the edges of the wall.
Remember to allow the adhesive to dry fully according to the manufacturer’s instructions before painting or applying any finishes.
In conclusion, installing your MDF wall panelling is a task well within the reach of most DIY enthusiasts. It requires patience, precision, and a little hard work, but the result is a beautifully panelled wall that you can take pride in. Happy DIY-ing!