Category: Garden DIY

Top Tips for Maintaining Artificial Lawns

artificial lawns

For many, the biggest draw to choosing an artificial turf over real grass is the ability to bid farewell to time spent mowing the lawn. However, that’s not to say there isn’t some recommended work required to really get the best out of artificial lawns.

A little bit of maintenance can go a long way in helping to extend the life of artificial turf and help to keep the grass looking just that little bit greener. Check out our top tips to maintaining your artificial lawn!

Give It a Brush

When you first install your artificial grass, the infill sand used will help to shape, structure and bed in your turf. Therefore it’s recommended for a minimum of six weeks to eight weeks to lightly brush the grass to remove any surface debris. Don’t be too forceful though – remember the turf is still bedding in, so brushing too vigorously could potentially leave you wish a misshapen garden.

After that point, it’s recommended to bring out the brush to remove any debris and foliage around once a month. The best results can be achieved with a medium soft bristle brush – you’d be surprised how much a quick run over the garden will spruce up your artificial lawn.

Weed Out Unwanted Plants

Artificial lawns will see to a massive reduction in number of weeds and unwanted plant life that will crop up in your garden, but it’s worth bearing in mind, because synthetic grass is porous (allows water through), it won’t be uncommon to see the odd particularly tenacious weed poking through.

There are a couple of ways to deal with this – the first being to simply take the top off the weed – knowing it will grow back soon enough. For a more permanent solution, a water based weed killer can be used up to twice a year. Approach weed killer with caution though – use anything other than a water-based concoction, and you’ll risk irreparable damage to your lawn.

Remove Unsightly Stains

As with any stain, the best chance you have of removing it is to act quickly. Should your artificial lawn be faced with a stain, dive in with some hot soapy water (washing up liquid is suitable) and give the stain a scrub. For oil stains, mineral spirits will also be helpful. If you’re faced with the unfortunate task of dealing with animal mess, remove it as quickly as possible, followed by a wash down the area.

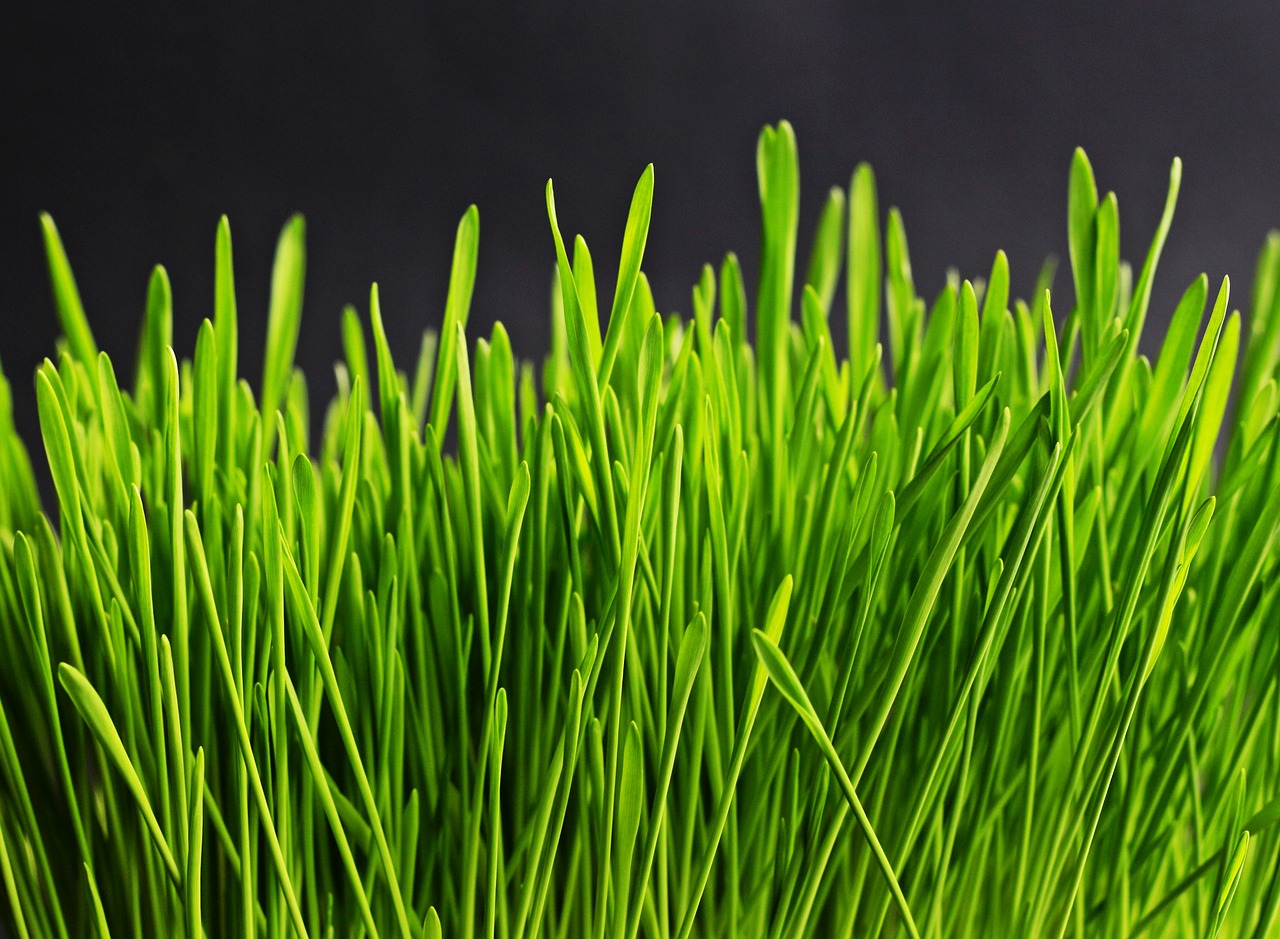
Caring for Artificial Lawns

Artificial lawns are fuss-free and require minimal maintenance in order to really look great. If you’re looking to stock up on lawn care supplies for the summer ahead, head on over to eDecks now to snap up a bargain!

What are your top tips for caring for artificial lawns? Share with us in the comments below!

How to Install Artificial Grass in 6 Steps

how to install artificial grass

Great news – you’ve decided to save yourself all that time you spend mowing the lawn by replacing it with artificial grass. You’re looking forward to spending more time enjoying your garden and relaxing, but before you get to that stage there is just the matter of getting your new lawn in place.29

Here at eDecks we pride ourselves on being helpful to our customers, and as a family run business we believe in keeping things simple. To that end, if you are wondering about how to install artificial grass then you need to wonder no longer – here is our guide to getting your new lawn in place in 6 straight-forward steps.

Step 1: Preparation

The first stage in any DIY project, as you probably know, is the preparation.

Measure out the area(s) that you are going to lay down the artificial grass, ensuring that you get your measurements absolutely spot on, so you don’t end up with gaps (it’s good to measure then leave a couple of days and do it again to make sure you don’t rush and make a mistake). Then decide exactly what you want your lawn to look like: we offer lots of different options and variety, meaning you can choose everything from the exact colour of your new lawn to the thickness and length of the ‘grass’. We also offer our Cut to Size service, which will save you lots of your precious weekend by having everything cut to your specifications rather than you having to do it.

Step 2: The Digging

Once you’ve measured it all out, ordered your new grass and are waiting for its delivery you should get the area ready (although you’ll have to be quick as our delivery is famously fast!). Start by removing the old lawn, if there is any, and then dig out the soil that was underneath that. Not only will this remove all roots and other weeds, but it will give you room to add in a base layer, for a better looking lawn.

Step 3: The Base Layer

Once your area is dug out, you need to make sure there’s a firm base layer. This will ensure that your lawn is smooth and level, with no strange lumps that could damage the grass or make it uncomfortable to walk on. It will need to be compacted and flattened, so allow enough time for this and for it all to set firmly.

If you want your lawn to be even softer, you might want to consider adding in a base layer of shock pad matting to make it even more comfortable to walk on – it works the same way as the layer under your carpets.

Step 4: Laying your Lawn

If you’ve used our Cut to Size service, this next bit is easy (providing you roll it out the right way!). Start at one edge, and simply roll out the grass, ensuring that any joins are secured discreetly. For larger and thicker lawns, it’s worth remembering that your rolls of artificial grass are going to be heavy – get someone to help you, as it’s all too easy to injure yourself!

Step 5: Securing and Filling

Once your new artificial grass is rolled out, it’s time to secure it. Using Ground PINS, your lawn will be easy to secure and won’t be going anywhere. Space them out evenly around the edges and throughout your lawn to make it firmly held down, remembering to hammer them in flush to the base of the lawn so they cannot be seen.

Step 6: Enjoying!

With your new artificial lawn now in place all you have left to do is sit back and admire your handy work, or better still get the whole family together for a barbecue safe in the knowledge that your grass will not become patchy with people walking over it.

How to Install Artificial Grass – Stock Up!

Now you know how to install artificial grass, head on over to stock up on artificial grass essentials here.

Tips to Refresh Your Wooden Fence Panels this Spring

wooden fence panels

Over the past few weeks, the chances are your garden has been subject to quite the battering from Mother Nature’s mood of winter. Consequently, the time laboured into installing your beautiful wooden fence panels earlier in 2015 may look as though it has been all for nothing.

Don’t despair – here at eDecks, we’re armed with know-how to help you give your garden the refresh it needs for the coming spring. Check out our top tips on how to repair wooden fence panels now!


Assess the Damage

Before investing in any tools or potions to help restore your wooden fence panels, consider the current state. In the end, if damage is substantial, a quick fix may prove to be more costly and you may end up going the whole hog and reinstalling a new fence altogether. Be realistic about the wear and tear of your fence – is it looking worse for wear? Warning signs that your fence needs to be repaired include extensive rot, splintering and warping.


But Before Throwing It All Away…

A bit of rot here or there doesn’t necessarily translate to throwing out an entire side of fencing. Decay should be addressed as early as possible to prevent the spread of further deterioration, however, this can usually be easily tackled by replacing the affected wooden fence panel only.


Start with a Good Scrub

If your wooden fence panels are looking a little grubby, then a power sprayer and some elbow grease can go a long way. Connect your garden hose up to a rented pressure washer and get ready to give your fence a deep clean.

Be warned, when refreshing your wooden fence panels this way, ensure that you keep the hose moving and don’t stay in the same place too long. Power washers are just that – powerful and concentrating in one area for too long at too high a pressure can take literal chunks out of your wood.


Restore by Restaining

As wooden fence panels survive the elements, the rich colour can be stripped away making your fence look lacklustre and tired. If you’ve also opted to blast your wooden fence panels with a pressure washer, then the chances are your fence will have been stripped of flaky varnish in the process too.

A relatively cheap and easy fix to quickly breathe life back into your wooden fence panels is to reapply a stain.  After pressure washing and drying, sand down any remaining bumps and lumps, and apply a stain of your choice. Don’t forget to add longevity to your DIY project and complete the process with a sealant for locked in protection against sun damage.


Refreshing and Replacing Wooden Fence Panels

In some instances, refreshing wooden fence panels may not be the best option – and a full replacement may be in order. In the event that a replacement is necessary, it doesn’t always need to be costly – why not browse our range of cheap wooden fence panels to see for yourself?

What are your top tips for refreshing older wooden fence panels? Why not share with us in the comments below or head on over to our Twitter too?

To Mulch Or Not To Mulch: Top 5 Xmas Tree Recycling Tips

We know we’ve only just bid farewell to our massive Turkey roast from Xmas day, but as ever it’s on-wards and up-wards in the land of DIY and garden maintenance and you’ve probably got a million and one plans already in the making. But first, let’s sort out that poor Xmas tree recycling. Join us as we delve into eDecks top 5 tips for recycling your tree, making sure it’s being put to it’s best use all year round!

1. Branch Out!

If you’re like us, then winter can be a worrisome time. Will some of our more fragile plants make it through any forthcoming heavy frosts? Well, why not use some of the longer branches from your Xmas tree to form a light covering shelter. It could just make the difference between a plant making it through the winter. Blooming great!

2. Let’s Get Creative!

Feeling crafty? Suddenly your troublesome tree becomes free material for a host of indoor and outdoor projects. How about sawing up the trunk of the tree to create two inch discs which can be used to separate beds, line paths or walkways? Thinking indoor? How about going a little thinner on the discs and creating super cool rugged coasters? We’d recommend coating these in polyurethane just to make sure any residual sap doesn’t make it’s way onto your nice new coffee table!    

3. Don’t Skip, Chip!

Chipping your tree to create your own garden mulch is easily the simplest way to use the trunk and larger branches. This can be used for mulching paths, topping off borders and generally tidying up drab areas of the garden.  If you don’t own a chipper, then why not look to share the cost with neighbours, family and friends. Xmas tree chipping party anyone?

4. Birdy Fast Food Feeder.

We can’t forget about the little birdies can we? How about turning your old tree into an awesome bird feeder. Use the branches to hang your feeders, or create your own using pine cones, peanut butter and bird seed! Looking to attract some shyer feathered friends? How about placing the feeders towards the edges or more covered areas of the garden? Some birds are more likely to approach food if it’s not located smack bang in the middle of the garden.

5. Taking the Easy Way Out!

Finally, we at eDecks know that the best laid plans of mice and men often go awry. Sometimes life just gets in the way, but that doesn’t mean you have to ditch the plans altogether. Here’s our Xmas tree cheat sheet…shhhhh, don’t tell anyone! Find your nearest recycling station here! Ain’t nobody got time to mulch! Let us do the work for you!

Xmas Tree Recycling –  Share Your Top Tips

Do you plan to recycle your Christmas tree this year? Why not share your xmas tree recycling top tips with us on Twitter, or even the comments below!

Winter Garden: 5 Top Tips to Repair and Prepare

Winter Garden

We all know it’s the toughest time of the year for our beloved winter gardens, but fear not, we at eDecks have compiled this handy list of winter garden top tips to help your garden flourish throughout the coming months.

1. Spruce Up Your Garden Pathway!

Yes folks, it’s time to dig out that tub of elbow grease and find your trusty old stiff brush, as we recommend getting to grips with that garden path and restoring it to it’s former glory with a good old fashioned sweep. Use this time to clear out any growing moss, lichen and weeds that have taken root during the year and have that path looking spic and span for the forth coming new year. A clean path to the New Year.

eDecks tip: Use rocksalt to keep all paths clear and safe for when the ice and snow arrives!

2. Can You Dig It? We Recommend You Do!

Provided your soil isn’t waterlogged or frozen, we recommend giving your beds a good clearing out. Dig and fork the soil to loosen it up, allowing you to clear out any weeds and look into adding compost or manure to start the process of building up the soil structure. This will also help to create a moisture and food reserve for your plants and vegetables.

eDecks tip: Brighten up your garden with winter bedding, such as sweet peas and pansies.

3. Let the Pruning Commence!

Yes, it’s time to get out those pruning shears and start trimming back those bushes and trees for the winter. We recommend starting off by clearing all dead and diseased branches, then moving onto removing any buds facing into each other. This makes sure you won’t have any damage as the buds begin to flower later in the year. Finally, it’s always good to look at reducing any particularly long branches, we suggest cutting back a third of their current length.

eDecks top tip: Make sure your pruning shears are sharp to avoid crushing and tearing areas, as this can lead to disease and frost damage.

4. Don’t Have a Compost Bin? Start Now!

Winter can be the perfect time to kickstart your compost bin and start feeding back the nutrients from your garden waste, right back into your plants, trees and shrubs. The trees may look a tad bare right now, but it’s a good chance to take advantage of all those fallen leaves which can be gathered up and added to your brand new compost pile!

eDecks top tip: Buy the right composter for your gardening needs and be sure to pick up one of our ‘one size fits all’ covers!

5. Don’t Forget our Feathered Friends!

Yip, our last and final tip is obviously the most important as we strongly recommend you provide for the birds needs during what can be a difficult time for our flying friends. Turn this into an event with the kids, laying out food and making sure that water supplies are kept fresh.

eDecks top tip: Water baths keep freezing over? Place a floating ball on the surface to stop the water freezing… and hey, if it does freeze over, simply remove the ball to leave a gap in the ice!

Winter Garden – Further Help & Advice

Preparing your winter garden can be a labour of love, however, armed with the right tools and tricks, it will pay dividends in the later months. For more top tips on taking care of your winter garden and more, why not visit our blog on extending the life of your plants in winter?

Navigation