Category: Garden DIY

How To: Lay Gravel Correctly

When it comes to gravel and aggregates here at eDecks, we have a wide range of different colours, textures and sizes. Whether your project is large or small, as a decorative area or for a pathway or seating area, we have information, tips and more to help you create your perfect gravelled area.

decorative gravel

Gravel is a popular option when re-decorating your garden, as it is cost-effective and an easy option that can help transform your garden. However, it is recommended that you consider the size of the stones to suit its requirements, whether it be for decorative purposes or it is to be used as a pathway. It is very important to ensure you prepare the area first, as aggregates can be difficult to keep clean and clear of leaves and weeds. eDecks recommend you mark out the section of land you wish to place the stones so you can get a good understanding of how much you require.

gravel

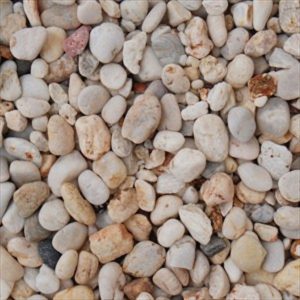
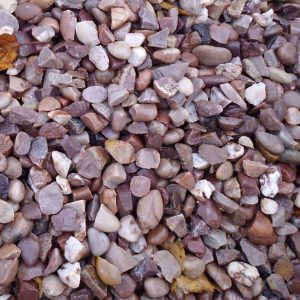
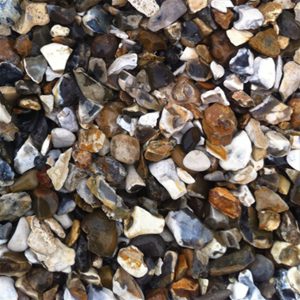
If you are using the gravel for a decorative area, you then have a wider option of which colours and styles you can use, as decorative gravel does not get disturbed as often and so you can have fine, medium or large gravel. If you are using gravel for a seating area or footpath, then it would be a good idea to opt for medium sized, as if it is too small/fine then it will move around too easily, yet if it is too large, then it may be difficult or uncomfortable to walk on.

decorative gravel 2

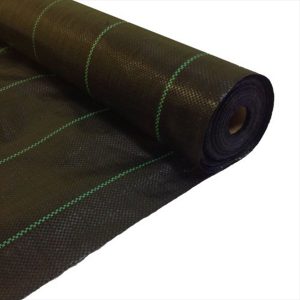
For footpaths and seating areas, it is advised that you dig down about 10cm and place a base of hardcore before laying around 50mm of gravel over the top. This will then help to prevent any gravel from moving and sinking under greater weight and movement. For decorative gravel areas, it can be much easier; simply scrape away the surface leaving it flat, place a weed suppressing membrane over the top to prevent weeds from breaking through the gravel, and then lay the gravel over the area to your requirements. Weed suppressing membrane does not prevent plant growth if you cut out the section you are wanting to use with a knife.

weed membrane

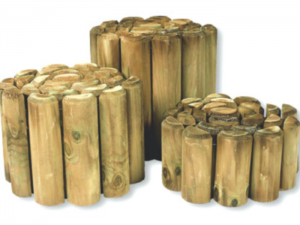
Once your gravel is laid, you may wish to add a finishing touch to complete the look, and to prevent it from moving. You could use something like a log roll, which is a cheap and easy option, or larger cobbles or bricks that can be cemented down to create a more permanent edging for your area.

log roll

cobbles

eDecks offers some of the best deals on Gravel around, including all of the installation supplies and tools you may need. Not only do we provide plenty of unbeatable deals but also:

Super-fast FREE delivery on orders over £100*

48 Hour express delivery available on most items.

*Free delivery applies to most of the UK, but some areas may incur a charge. Please check the eDecks website for more details.

Please note: These items are delivered to roadside/kerbside or as close to the property as access will allow with the aid of a hand pallet truck.

Please call for bulk pricing.

How To: Lay Shingles

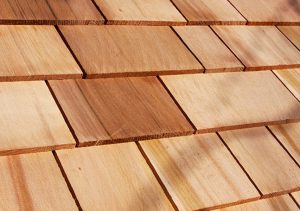
Shingles are a recently popular roof covering which offers good insulation and is often considered one of the longest lasting and attractive-looking roof coverings. When instructed correctly, shingles can be easy to fit, however mistakes can otherwise be made, so today we are giving you an insight on how to correctly lay shingles.

shingles

Firstly, there are three different grades of shingles;

  • Black Label: A utility grade for economy applications and secondary buildings.
  • Red Label: These are your standard grade shingles.
  • Blue Label: Your highest quality shingles, with no knots and no discolouration.

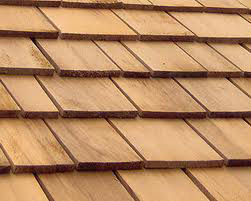
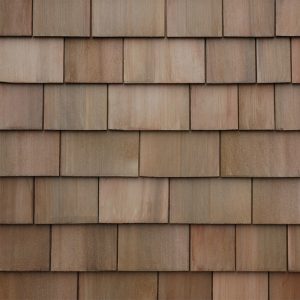
shingles laid

Our shingles are light to transport yet durable and offer a high degree of thermal insulation. They are aesthetically pleasing and practical and will adopt a pleasant silvery grey shade over time. Western Cedar is naturally insect and rot resistant, therefore requiring no further treatment.

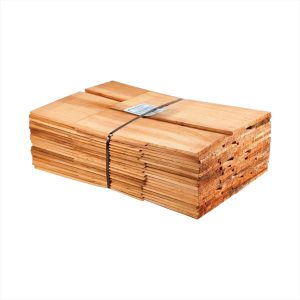
bundle of shingles

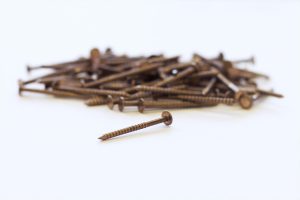
Cedar Shingles are supplied in bundles and coverage will depend on the application. For maximum life, fixing should be made with two silicone bronze annular ring nails per shingle and roughly 1kg of nails will be required for every 6 bundles of Cedar Shingles.

nails

Installation

Step 1: Cover the roof using roofing felt, and use a hammer stapler to fasten it down, stapling every 304.8mm to 355.6mm.

Step 2: Position the first shingle so its end overhangs the edge of the roof by 31.75mm to 38.1mm. Secure it to the roof with two nails near the top edge of the shingle, about 1 inch below its top edge.

Step 3: Put the next shingle about 3.175mm to 6.35mm away from the edge of the first shingle. This will allow room for the shingles to contract and expand. Ensure the second shingle overhangs the edge of the roof by the same amount as the first shingle. Attach the shingle to the roof with two nails near its top edge.

Step 4: Apply the remaining shingles in the first row using the same method.

Step 5: Apply a second layer of shingles directly on top of the first row. This then adds an extra-high level for the edge of the roof, which creates more space between excess rain and snow and the edge of the roof, where this often collects.

Step 6: Split a shingle in half vertically for the first shingle in the third round of shingles. This helps to create a staggered pattern, similar to traditional bricks. Cut down the centre of the back of the shingle and snap it in half with your hands. These are then installed so that they cover the spaces between the shingles in the row below. Position the shingles in the third row so that the vertical centre falls above the gap between the two shingles in the first and second rows, which are installed one on top of the other.

Step 7: Use a small piece of shingle as a template to position each shingle so that it covers about half of the shingles below it in the previous row and leaves about half the shingles exposed. This is known as the reveal of the shingles, so it should be the same on ever shingle, which is why it is beneficial to have a template with which to measure the reveal on each single.

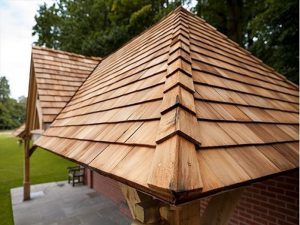
Step 8: Place shingle ridges on the ridgeline at the top of the roof and then install them after the other shingles are installed on the rest of the roof.

shingle ridges

Mistakes to Avoid

  • When estimating the amount of shingles needed, do not make the mistake of trying to estimate the number until you have figured the square footage area of your roof. Then, use that figure to estimate the number of shingles you will need.
  • Don’t try to estimate the entire roof area all at once. Estimate the square foot area of each section, separately. Then add them together and begin by measuring the roof width and roof height on one section of your roof, then multiplying the two numbers.
  • You will need a solid surface for any replacement shingles, so don’t begin installing the new shingles until you have replaced any missing nails in the old shingles and have nailed down all old shingles that are loose.
  • For a roof with more than three layers of shingles, ensure you remove the old ones before you install any new ones. Use a crowbar, nail bar or roofing shovel to loosen the old shingles and remove them and loose nails before attaching a layer of roofing felt.

shingles settled

eDecks offers some of the best deals on Shingles around, including all of the installation supplies and tools you may need. Not only do we provide plenty of unbeatable deals but also:

Super-fast delivery!

Handy FREE installation guides.

All Shingle sales do incur a delivery charge of £25.19 anywhere in the UK.

Call us for Bulk Options!


Limestone v Sandstone: Which Indian Stone Paving Material is Best for You?

The types of stone paving available are exhaustive, however two of the most popular are sandstone and limestone paving. Today we are going to take a look at both in a comparable state to help you decide which is the most preferable stone for yourself.

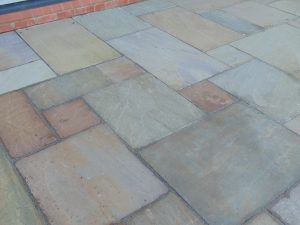
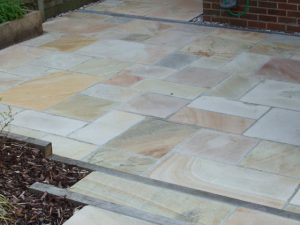
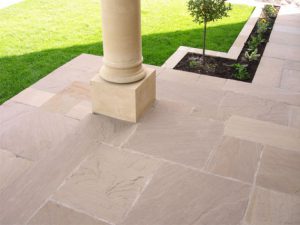
Sandstone is available in multiple colours, from light buff through to beige, silver grey and shades of dark brown and black. Within each shade group you then have complementary tones and bands of colour which appear subtle when dry and then become much more vibrant when wet. Lighter shades of sandstone are ever so slightly more porous than the darker colours and tend to need additional cleaning or a sealant applying. Sandstone has a rippled and uneven surface and hand-cut edges and can either be a hand-cut thickness or calibrated to an even thickness which will help you when laying the paving. There are other effects and finishes when it comes to sandstone, for example antique/tumbled sandstone has been finished with a time-worn effect with a slightly flatter surface and rounded edges to give the appearance that these stones have been walked over for hundreds of years. Antique/tumbled sandstone is often available in more muted shades, making the property more suited to older style properties and period homes. Sandstone with a sawn finish has a very different appearance, making it a more contemporary option, with its sawn straight edges which enable close jointing which complements the contemporary theme. You will find that sawn sandstone usually has either a honed surface making it super smooth to touch or a sandblasted texture, giving it a gritty feel.

Buff Blend 3
Buff

Limestone paving is rather similar in appearance to sandstone, but tends to have a flatter surface with less riven edges and more of an orange-peel texture to it. The colours available in limestone also tend to be more limited than sandstone with three main colour choices of buff-grey, blue-grey and blue-black. With natural stone, there will always be some variation in colour, however limestone gives off a lot less colour banding and variation of shade than sandstone. One of the great advantages of limestone paving is that it may be placed in numerous areas, such as driveways, patios, walkways, pathways, courtyards, verandas and stepping stones. The versatility of limestone pavers means that they can be applied just about anywhere around your home, both externally and internally. Because limestone is relatively soft compared to other stones, it can therefore be cut much easily to fit in with your intended project.

Carbon 2
Carbon

When using natural stone paving, you will never get two natural stones with the same colouring, patterns and tones, making it completely unique to your property. It is also formed to be able to handle various weather conditions, ensuring it maintains its appearance for centuries, with minimal wear and tear. With regards to caring for your natural stone paving, you will find maintenance a doddle – it is extremely easy to clean and naturally has smaller joints than concrete paving, which even reduces the amount of weeds growing in-between any cracks. Due to natural stone’s durability, you will also find that you won’t have to constantly replace and repair sections of paving as no significant damage should ever occur. It doesn’t have to cost the earth to use natural stone paving, and you will find that in the long run it actually saves you money as you won’t be having to repair or replace the stone.

Indian Stone Mint Fossil
Mint

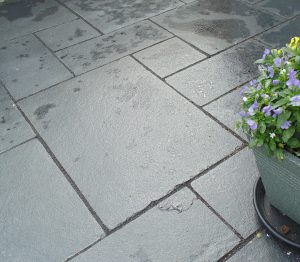
Colours and shades available in natural stone paving are Raj Green, Carbon, Kota Black, Umbra, Multi Buff, Shadow Grey, Tallow Fossil, Modak, Two Tone, Mint, Lalitpur Yellow, Kotach Blue and Yellow Limestone, giving you endless possibilities to create your dream paving area.

Raj Green Indian Stone 1
Raj Green

As it is a natural product, you may eventually find that algae may build up over the years, particularly on a north facing patio with little sunlight. However, this can be prevented by using a sealant such as the Thompson’s Satin or Wet Look Finish Patio & Block Paving Seal, an advanced acrylic formula protection for paving and driveways, which seals and protects from moss and algae growth, whilst leaving a lovely satin or wet look finish. Paving Seal enhances the appearance of your paving, protects against oil or fuel spills, moss and algae growth and damages from weather and wear and tear, so it is definitely worth considering this option with your paving, however it is not recommended for use with Carbon Indian Stone.

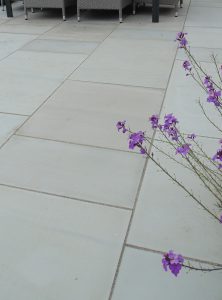
Shadow 3
Shadow

When laying your paving, we recommend using the Nexus ProJoint Fusion All Weather Paving Joint Compound in either Buff, Mid Gray, Basalt or Black, which is a quick and easy solution for filling joints between paving slabs and setts, suitable for natural stone and concrete paving. It provides you with a weed-free, frost-resistant joint without staining the paving, saving you both time and money.

eDecks offers some of the best deals on Indian Stone Paving around, including all of the installation supplies and tools you may need. Not only do we provide plenty of unbeatable deals but also:

Super-fast FREE delivery on orders over £100*

48 Hour Delivery on many products

Handy FREE installation guides and instructional videos

*Free delivery applies to most of the UK, but some areas may incur a charge. Please check the eDecks website for more details.

How To Build Your Own Shed

How To Build Your Own Shed

What you need to know before building your own shed

From choosing the best materials to getting the right tools, we look at your must-have essential info for building the shed of your dreams without a professional. For many people, the garden is the heart of their home.

Whether it’s summer barbecues, late-night parties or relaxing on lazy weekends, a beautiful garden is always a welcome addition to any property. And with a beautiful garden comes the need for plenty of tools – and a secure place to store them.

A well-built garden shed is an essential for any true gardener, but you needn’t shell out a fortune to get the wooden shed of your dreams. Here, we look at how you can build your own garden shed, focusing on the materials and tools you will need to do the job right.

Happy shed building!

Get the right materials for shed building

When you decide to build your own shed, getting the best materials is essential ­– after all, poor quality timber, fixings and foundations will lead to a poor finished product.

To build your own wooden shed you will need the following basic items:

High quality, long lasting timber products are the best choice for erecting a wooden shed. Not only will timber weather well, it will also help to keep your lawnmower, tools and other garden essentials safe from the elements and would-be thieves. And the good news is, we offer a wide range of affordable shed building materials that will make your garden complete in no time.

You can choose to buy your garden shed materials in a kit or individually, but always ensure you measure the area you want to use and order the correct size – measure twice, cut once as the pros say!

Make sure you have the right tools for shed building

Any professional finish will only be achieved by using professional quality tools. And that’s why it is so important to ensure you have the right tools for building a garden shed.

First, it’s important to make sure you have the correct safety equipment before starting to build a shed. This includes heavy duty gloves, eye goggles, and protective clothing. It’s always better to be safe than sorry.

Next, you will also need a ladder, spirit level (an essential for a sturdy structure), tape measure, power drill and a claw hammer. Depending on whether you decide to insulate your shed or leave it as a wooden shell, you might also need shed felt and a sealant gun. As you work, keep your tools clean and organised to make your shed building go off without a hitch.

Get organised and make a plan for your shed project

Building a wooden shed structure for the garden should be fairly straightforward for anyone
well practiced in DIY. But it can still be a challenge. As any tradesman will tell you, the best way to get on top of a job is to get organised right from the start of the project – and stay organised through to the end.

If you’ve decided to build a garden shed, the first step is to lay out all the materials and tools, taking an inventory to ensure you have everything ready to go.

Building a shed is split up into the following basic steps:

  • Laying the base and foundation – you’ll need treated wooden shed beams and a concrete base
  • Assembling the shed floor
  • Raising the walls into place
  • Fitting the roof
  • Fixing the windows (if you decide to add any)
  • And finally fixing the walls to the floor.

If you’re in any doubt about building your own shed, there are lots of free plans and designs available online to help you make a plan. Make sure to set aside plenty of time to complete building the shed and get a friend to help with the tricky bits – it really is a job for two or more.

Know Your DIY: Timber Treatment

timber treatment

To get the best out of your wood-based project, a great timber treatment is the key to longevity. Whilst wood will not rot if it is kept dry, protecting against the elements is best practice to ensure that your timber has a long life.

Not sure if you need a timber treatment? Read on to find out more!

What is a Timber Treatment?

Timber treatment is commonly mistaken for decorative coatings, however, a timber treatment is far more hardy and durable. A timber treatment is a mixture of preservatives applied to wood to protect against timber decay, including dry rot and woodworm.

In the often very damp climate of the UK, timber is typically at a high risk of attack from certain insects and beasties, as well as fungi, which can dramatically affect the lifespan of timber, and lead to dangerous, or in some cases potentially fatal accidents where structural timber has been used.

Why Would You Use Untreated Timber?

With such justifiable reasons for using treated timber, it may seem strange to opt to use untreated wood for your project. However, many DIY enthusiasts and professionals still prefer to use untreated timber for a number of reasons.

To begin with, untreated timber is typically cheaper and allows maximum control over the project from start to finish. Another reason that untreated timber may be preferred is due to the nature of harsh chemicals used to create treated timber, it may simply not be appropriate.

For instance, a project involving the creation of an indoor dining table, the purpose of the table would be to serve food – and in this instance, toxic chemicals would carry some risk to health, whilst the risk of structural collapse due to rot is very low to non-existent.

Choosing Between Untreated and Treated Timber

Applying a timber treatment typically requires heavy duty apparatus to apply the chemicals, so for the casual DIY-er, opting for a treated timber can prove to be much more cost efficient, compared to sourcing timber treatment professionals to process your untreated wood for an outdoor project.

The biggest advantage to choosing wood that has undergone a timber treatment is the far superior lifespan. That combined with the cheap price point can make treated timber a very attractive proposition.

If you’re still not sure whether to go for treated or untreated timber, we’d be delighted to help! Just give us a call on 0844 474 4444 to speak to our timber treatment experts now! Ready to get cracking? Check out our treated and untreated timber now!

Navigation