Tag: diy

How To: Use Dryzone Injection

Dryzone Damp-Proofing Cream is a high-performance injection cream which is used to treat rising damp. It is the most rigorously tested and accredited remedial damp proofing treatment on today’s market. In this post you will find everything you need to know in order to apply Dryzone in your own home.

dryzone

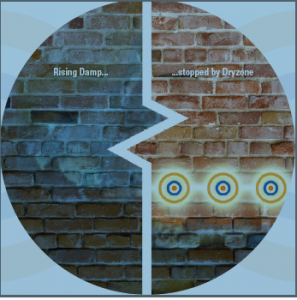
Rising damp is where groundwater rises up through a wall via capillary action, the ability of a liquid to flow along narrow spaces, counter to the forces of gravity. Bricks and mortar can be very porous and contain many fine capillaries, through which water can then rise. The groundwater that rises up through the wall often contains salts that can contaminate plaster and cause lasting decorative spoilage, hence why protecting your walls with Dryzone can be very valuable.

bricks

Dryzone Damp-Proofing Cream is a water-based silicone cream that spreads and bonds with sand, cement and mortar. Any continuous sand, cement or mortar line that has been treated with Dryzone then becomes a damp-proof course. Due to it being a high-strength cream. Dryzone provides over five times more active ingredients to a wall, over a wider area, than other low strength competitors, making it longer lasting and more effective.

dryzone tubes

Installing this is quick and easy to do, and our step-by-step guide provides you with everything you need to know on how to use damp proofing cream to damp-proof a standard brick wall.

  • Drill holes: You will need to drill holes at 120mm centres along the mortar course of the wall to be damp-proofed using a 12mm drill-bit. Holes should be drilled to a depth slightly less than the thickness of the wall. See Guide below.
  • Prepare Gun Stage 1: Unscrew the nozzle attachment from the Dryzone gun and insert the Dryzone cartridge.
  • Prepare Gun Stage 2: Pierce the Dryzone cartridge using a sharp knife.
  • Inject Dryzone: Replace the nozzle and screw tight. Insert the nozzle into the Dryzone gun into the full depth of the first pre-drilled hole. Squeeze the gun trigger and back-fill the hole to within 1cm of the surface. When damp-proofing cavity walls, make sure that the holes in each leaf are filled.
  • Finish: Fill the rest of the holes with the damp proofing cream in the same manner. When treating plastered walls, the plaster will have to be hacked off and replaced.

instructions

Depth and Distance of the Drillholes:

Wall Thickness 110mm 220mm 330mm 440mm
Depth of Drillholes 100mm 190mm 310mm 430mm
Distance between Drillholes 120mm 120mm 120mm 120mm


How Many Tubes of Dryzone Will You Need?

Wall Thickness: 110mm 220mm 330mm 440mm
Length of Wall:        
10m 1.5 3.0 5.1 7.0
20m 3.0 6.0 10.2 13.0
30m 4.6 9.0 15.3 21.0

eDecks offers some of the best deals on Dryzone around, including all of the installation supplies and tools you may need. Not only do we provide plenty of unbeatable deals but also:

Super-fast FREE delivery on orders over £100*

Free Installation Guide

*Free delivery applies to most of the UK, but some areas may incur a charge. Please check the eDecks website for more details.

How To: Lay Gravel Correctly

When it comes to gravel and aggregates here at eDecks, we have a wide range of different colours, textures and sizes. Whether your project is large or small, as a decorative area or for a pathway or seating area, we have information, tips and more to help you create your perfect gravelled area.

decorative gravel

Gravel is a popular option when re-decorating your garden, as it is cost-effective and an easy option that can help transform your garden. However, it is recommended that you consider the size of the stones to suit its requirements, whether it be for decorative purposes or it is to be used as a pathway. It is very important to ensure you prepare the area first, as aggregates can be difficult to keep clean and clear of leaves and weeds. eDecks recommend you mark out the section of land you wish to place the stones so you can get a good understanding of how much you require.

gravel

If you are using the gravel for a decorative area, you then have a wider option of which colours and styles you can use, as decorative gravel does not get disturbed as often and so you can have fine, medium or large gravel. If you are using gravel for a seating area or footpath, then it would be a good idea to opt for medium sized, as if it is too small/fine then it will move around too easily, yet if it is too large, then it may be difficult or uncomfortable to walk on.

decorative gravel 2

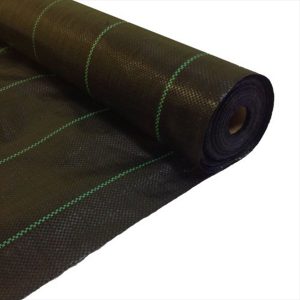
For footpaths and seating areas, it is advised that you dig down about 10cm and place a base of hardcore before laying around 50mm of gravel over the top. This will then help to prevent any gravel from moving and sinking under greater weight and movement. For decorative gravel areas, it can be much easier; simply scrape away the surface leaving it flat, place a weed suppressing membrane over the top to prevent weeds from breaking through the gravel, and then lay the gravel over the area to your requirements. Weed suppressing membrane does not prevent plant growth if you cut out the section you are wanting to use with a knife.

weed membrane

Once your gravel is laid, you may wish to add a finishing touch to complete the look, and to prevent it from moving. You could use something like a log roll, which is a cheap and easy option, or larger cobbles or bricks that can be cemented down to create a more permanent edging for your area.

log roll

cobbles

eDecks offers some of the best deals on Gravel around, including all of the installation supplies and tools you may need. Not only do we provide plenty of unbeatable deals but also:

Super-fast FREE delivery on orders over £100*

48 Hour express delivery available on most items.

*Free delivery applies to most of the UK, but some areas may incur a charge. Please check the eDecks website for more details.

Please note: These items are delivered to roadside/kerbside or as close to the property as access will allow with the aid of a hand pallet truck.

Please call for bulk pricing.

How To: Lay Shingles

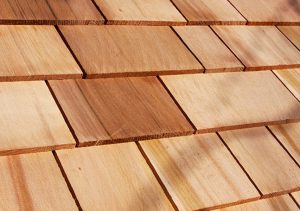
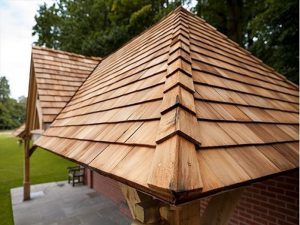
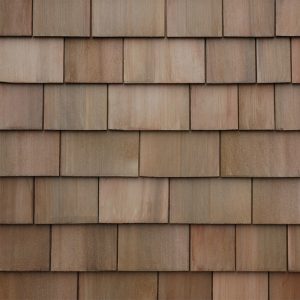
Shingles are a recently popular roof covering which offers good insulation and is often considered one of the longest lasting and attractive-looking roof coverings. When instructed correctly, shingles can be easy to fit, however mistakes can otherwise be made, so today we are giving you an insight on how to correctly lay shingles.

shingles

Firstly, there are three different grades of shingles;

  • Black Label: A utility grade for economy applications and secondary buildings.
  • Red Label: These are your standard grade shingles.
  • Blue Label: Your highest quality shingles, with no knots and no discolouration.

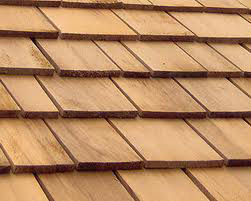
shingles laid

Our shingles are light to transport yet durable and offer a high degree of thermal insulation. They are aesthetically pleasing and practical and will adopt a pleasant silvery grey shade over time. Western Cedar is naturally insect and rot resistant, therefore requiring no further treatment.

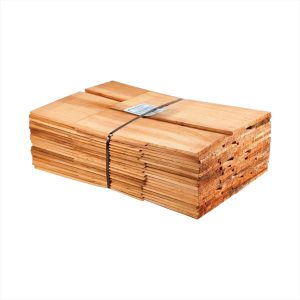
bundle of shingles

Cedar Shingles are supplied in bundles and coverage will depend on the application. For maximum life, fixing should be made with two silicone bronze annular ring nails per shingle and roughly 1kg of nails will be required for every 6 bundles of Cedar Shingles.

nails

Installation

Step 1: Cover the roof using roofing felt, and use a hammer stapler to fasten it down, stapling every 304.8mm to 355.6mm.

Step 2: Position the first shingle so its end overhangs the edge of the roof by 31.75mm to 38.1mm. Secure it to the roof with two nails near the top edge of the shingle, about 1 inch below its top edge.

Step 3: Put the next shingle about 3.175mm to 6.35mm away from the edge of the first shingle. This will allow room for the shingles to contract and expand. Ensure the second shingle overhangs the edge of the roof by the same amount as the first shingle. Attach the shingle to the roof with two nails near its top edge.

Step 4: Apply the remaining shingles in the first row using the same method.

Step 5: Apply a second layer of shingles directly on top of the first row. This then adds an extra-high level for the edge of the roof, which creates more space between excess rain and snow and the edge of the roof, where this often collects.

Step 6: Split a shingle in half vertically for the first shingle in the third round of shingles. This helps to create a staggered pattern, similar to traditional bricks. Cut down the centre of the back of the shingle and snap it in half with your hands. These are then installed so that they cover the spaces between the shingles in the row below. Position the shingles in the third row so that the vertical centre falls above the gap between the two shingles in the first and second rows, which are installed one on top of the other.

Step 7: Use a small piece of shingle as a template to position each shingle so that it covers about half of the shingles below it in the previous row and leaves about half the shingles exposed. This is known as the reveal of the shingles, so it should be the same on ever shingle, which is why it is beneficial to have a template with which to measure the reveal on each single.

Step 8: Place shingle ridges on the ridgeline at the top of the roof and then install them after the other shingles are installed on the rest of the roof.

shingle ridges

Mistakes to Avoid

  • When estimating the amount of shingles needed, do not make the mistake of trying to estimate the number until you have figured the square footage area of your roof. Then, use that figure to estimate the number of shingles you will need.
  • Don’t try to estimate the entire roof area all at once. Estimate the square foot area of each section, separately. Then add them together and begin by measuring the roof width and roof height on one section of your roof, then multiplying the two numbers.
  • You will need a solid surface for any replacement shingles, so don’t begin installing the new shingles until you have replaced any missing nails in the old shingles and have nailed down all old shingles that are loose.
  • For a roof with more than three layers of shingles, ensure you remove the old ones before you install any new ones. Use a crowbar, nail bar or roofing shovel to loosen the old shingles and remove them and loose nails before attaching a layer of roofing felt.

shingles settled

eDecks offers some of the best deals on Shingles around, including all of the installation supplies and tools you may need. Not only do we provide plenty of unbeatable deals but also:

Super-fast delivery!

Handy FREE installation guides.

All Shingle sales do incur a delivery charge of £25.19 anywhere in the UK.

Call us for Bulk Options!


How To: Achieve A Professional Brickwork Finish

Today we are giving you an insight into how to achieve better brickwork, to make your life easier with these simple tips which can save you time and money on your brickwork project.

Brick Storage

Bricks should be stored on a level, free-draining surface that is protected from the elements. Polythene wrapping gives the bricks protection from bad weather; if this is removed at all it then needs to be replaced or alternative protection needs to be provided as soon as possible.

13786

Blending Bricks

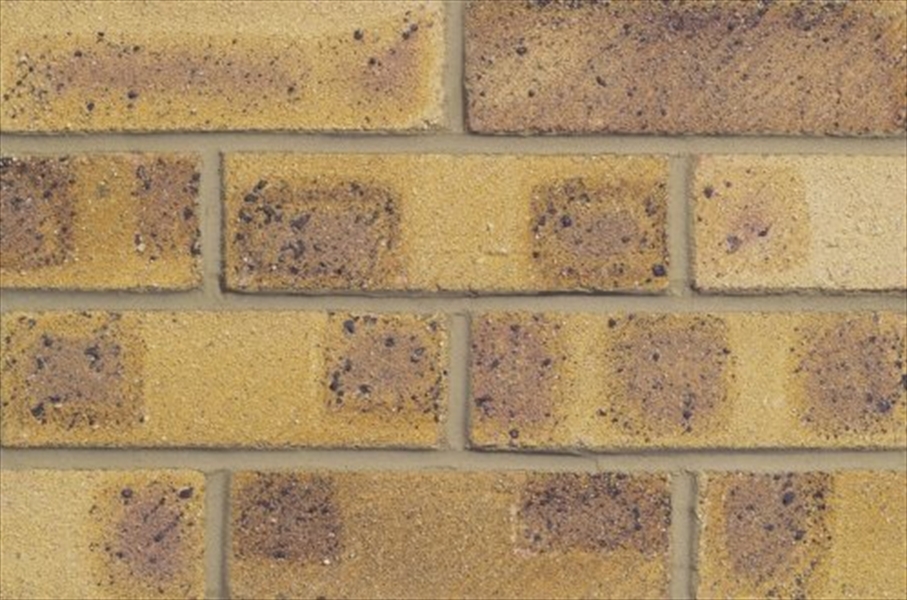
Bricks should be loaded-out from a minimum of three packs and it is advisable to draw from the packs in vertical rather than horizontal slices. By doing this, it helps to avoid colour patchiness or banding in the brickwork, to give a lovely professional and aesthetic finish.

13845

Protection of Newly Built Brickwork

When work is stopped or interrupted by unfavourable weather conditions, your brickwork should be immediately protected with polythene sheeting that is held in place with a suitable fixing. If new brickwork is not protected, lime stains, efflorescence, patchy mortar colour and patchy brickwork can occur. It is always worth noting that if the temperature falls below three degrees or if a frost occurs, then the laying of brickwork should come to a halt until the weather heats up.

22583

Frost Protection

Freestanding Walls:
These can be subjected to severe weather conditions. In order to minimise frost damage, careful consideration must be paid to the following aspects of design:

  • Class B quality bricks should be used from foundation level to 150mm (minimum) above ground level (M12 mortar or 1: ¼ :3). This will also act as a rigid DPC.
  • The main body of the wall is to be constructed “F2/S2” quality facing bricks (M6 mortar or 1: ½ :4 ½).
  • All copings must “F2/S2” quality and have a water absorption not exceeding 7% (M12 mortar or 1: ¼ :3).
  • It is recommended drip channels be introduced on all copings to shed rain clear of the wall face.
  • Drip channels should have sharp edges and be free from mortar or other obstruction.
  • Copings should overhang the wall face by at least 45mm.
  • “F1” quality bricks must not be used for the main body of the wall, cappings or copings on freestanding walls.

Mortar joints are not resistant to moisture. You can alter this by using a high bond continuous damp proof membrane immediately below the copings, projecting at least 13mm beyond the mortar.

A flexible DPC should be avoided at all times as this will reduce overall structural stability.

Earth Retaining Walls:
Where brickwork is in direct contact with reserved earth, it is exposed to ground water which consistently contains salts.

  • To minimise the risk of efflorescence on the exposed face of the wall, a waterproof barrier between the reserved earth and the brickwork should be provided.
  • The waterproof barrier will also aid in the minimisation of frost damage and sulphate attack.
  • All other detailing should be in accordance with that stated for a freestanding wall.
  • Rendering of the wall is not recommended under any circumstances.

A cement rich M12 mortar (1: ¼ : 3 cement : lime : sand or equivalent should be used for cappings and copings on both freestanding and retaining walls.

24820

Frost Attack

In extreme weather conditions even frost resistant F2 bricks have been known to fail. Where there is a likelihood of long term saturation during cyclic frost conditions occurring, it is advisable to choose a brick of high strength and low water absorption as an added precaution.

It is important to follow the above-mentioned good building practice details when constructing walls and other vulnerable structures.

eDecks offers some of the best deals on maintenance-free Bricks around, including all of the installation supplies and tools you may need. Not only do we provide plenty of unbeatable deals but also:

Super-fast FREE delivery on orders over £100*

Handy FREE installation guides.

*Free delivery applies to most of the UK, but some areas may incur a charge. Please check the eDecks website for more details.

How To: Choose the Right Bricks for You

Bricks are a super sustainable building material, which are durable, require little to no maintenance and can be recycled once you are finished with them. They also contribute to thermal mass, meaning that buildings require less energy for heating and cooling.

Brick Advantages

  • Little to no maintenance required
  • Contributes to thermal mass
  • Provides heat and noise insulation
  • Excellent resistance to fire
  • Allows the flexibility for buildings to be altered for re-use
  • Recyclable
  • Natural and traditional building material with lovely aesthetic qualities
  • A+ rating in the BRE Green Guide
  • Can be used to build homes to the highest levels of the Code for Sustainable Homes

Bricks are available in many different colours and textures and here at eDecks we believe in quality, not quantity and source a select range of bricks which give you options of a classic to a contemporary brick and everything in between.

We offer a wide range of brick styles and manufacturers, including Hanson, Carlton Brick, Colinwell, Ibstock, Wienerberger and more. Bricks can be bought individually or in packs, so we can offer everything you need for your project, whatever style you prefer or quantity you need – there’s no need to buy full packs of bricks if you only need a small amount.

Three easy steps to choosing your bricks;

Step 1: Choose a Colour

We have a variety of colours available, including hues of reds, buff, yellow, brown, and blues and greys.

Step 2: Choose a Texture

  • Smooth – Smooth finish or smooth sandfaced finish, consistent and uniform in character.

smooth

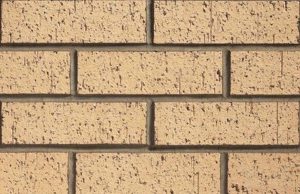
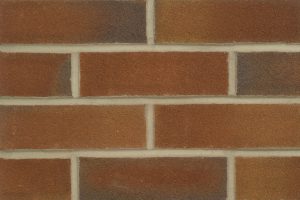
  • Light textured – Modern and uniform, with an indented or printed finish.

light textured

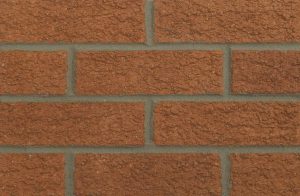
  • Heavy textured – A harder and rougher texture is given from a rusticated brick with a consistent finish.

heavy textured new

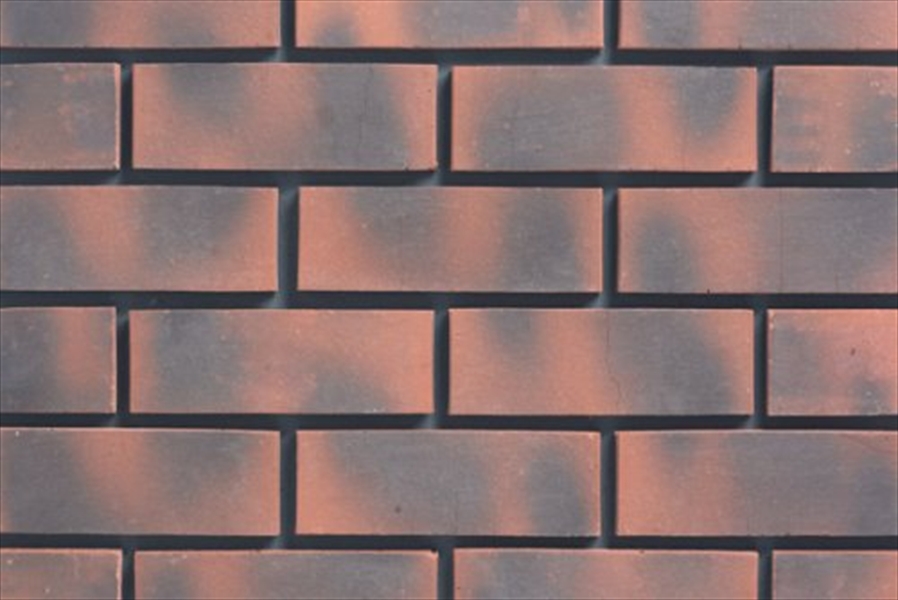
  • Stock: Pressed – A smooth sandfaced finish, consistent and uniform in character.

stock pressed

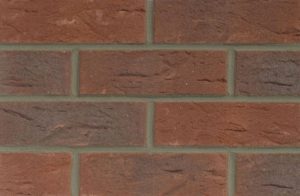
  • Stock: Thrown – A slightly irregular shape, with a creased texture, replicating the appearance of hand-made bricks.

thrown

  • Tumbled – Distressed and irregular in shape offering a rustic charm associated with reclaimed bricks.

tumbled

Step 3: Choose a Size

The standard brick size is 215mm x 102.5mm x 65mm but some of our bricks are made in a 73mm format for greater coverage.

eDecks offers some of the best deals on maintenance-free Bricks around, including all of the tools you may need. Bulk discounts are available across our entire range of bricks. Not only do we provide plenty of unbeatable deals but also:

Super-fast FREE delivery on orders over £100*

*Free delivery applies to most of the UK, but some areas may incur a charge. Please check the eDecks website for more details.
Please note that bricks are delivered roadside/kerbside or as close to the property as access will allow with the aid of a hand pallet truck.

Navigation