Great Outdoor Deck Ideas – The Summer Makeover!

outdoor deck ideas

Barbeque season is almost upon us – which means less time binge-watching the latest show on Netflix and more time in the garden soaking up the glorious rays of sunshine! Returning to your deck after a break can be less than inspiring – especially if your decking hasn’t had an update in quite some time.

If this sounds familiar, then a summer makeover is definitely in order. Read on to explore some great outdoor deck ideas to take your garden space to the next level!

Spruce Up with a Stain

Is your decking looking a bit sorry for itself? A little worse for wear? Regardless of the type of wooden material your deck is made out of, the natural process of wear and tear can leave things looking a bit drab.

One of the quickest ways to revitalise your deck is to apply a decking stain! Remember, before going gung-ho and jumping straight into it, try a range of samples and find out what’s the most complimentary to the overall household exterior.

Remember, if you’re looking to add to some brand new pressure-treated decking, leaving the staining process for a few months. This will give the wood time to bed in and dry out properly, providing the best “canvas” possible for you to paint on!

Feeling anxious about staining your deck yourself? Check out our guide on how to apply decking stain like a pro!

Light Up

Do you plan to use your outdoor decking this summer for entertaining? Shine a little light on the situation and install some decking lights to take the party well into the night!

Take it up a notch and instead of settling for plain old outdoor fairy lights, trying fitting a more substantial solution such as wall lights. Feeling adventurous? Try laying down composite decking tiles with LED lights built in for maximum impact.

Create an Oasis

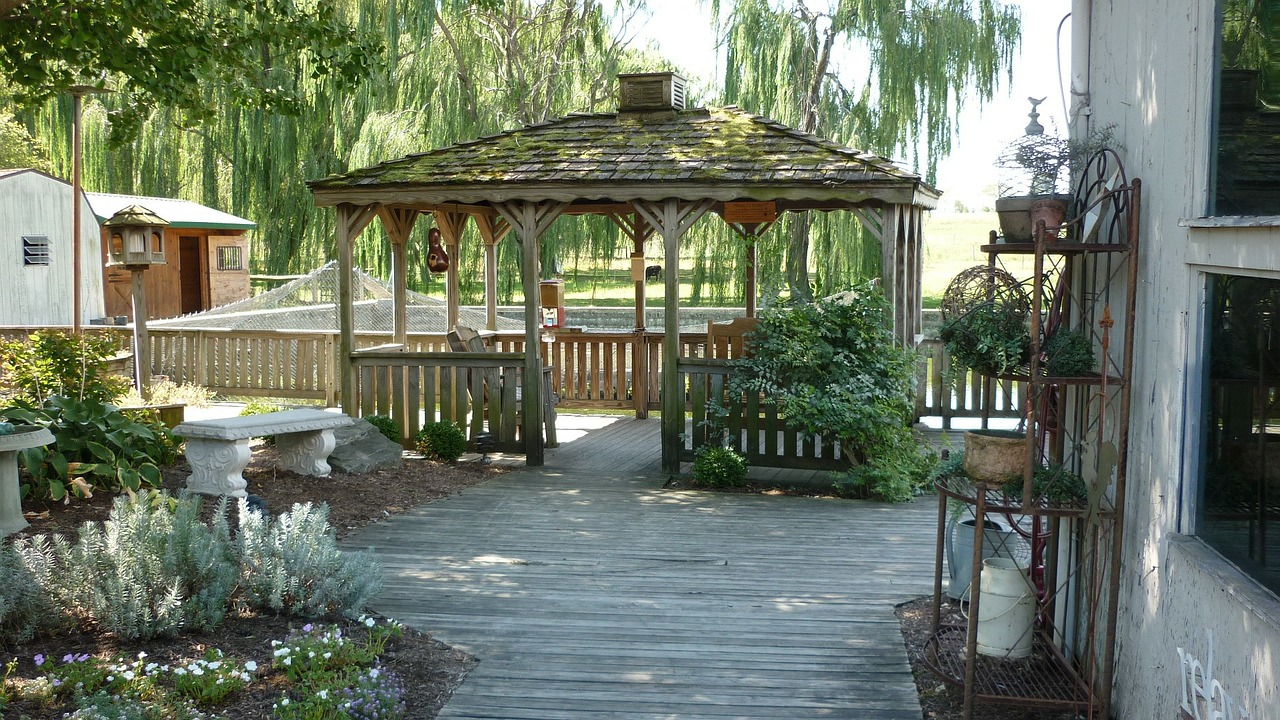
There’s nothing worse than a sparsely decorated deck. A common mistake to make is to furnish your outdoor space with a sun lounger or two and call it a day. Treat your outdoor decking as another “room” to your house and invest in big, bold potted plants to create a suburban oasis.

Tight on space? Why not try out a wall climbing plant? Installing a little trellis fencing can be discreet and blend into the overall look of the deck, whilst providing a frame for your wall-climbers to grow from.

From Rotten to Rattan!

Is your outdoor deck looking a bit too 80’s? It may be time to bite the bullet and accessorise your deck with a new Rattan furniture set. Choosing a classically-styled set such as the Ledbury 9 piece cube set can act as the perfect foundation to build upon over the years.

Once you’ve invested in your garden furniture staples, simply switch things up by adding new cushions and throws to stay on trend.


Putting your Outdoor Deck Ideas into Motion!

Are your creative juices flowing? Ready to put your outdoor deck ideas into motion? Head on over to eDecks now to begin compiling your supplies for your summer makeover now!

Know Your DIY: The Essential Guide to Types of Timber

types of timber

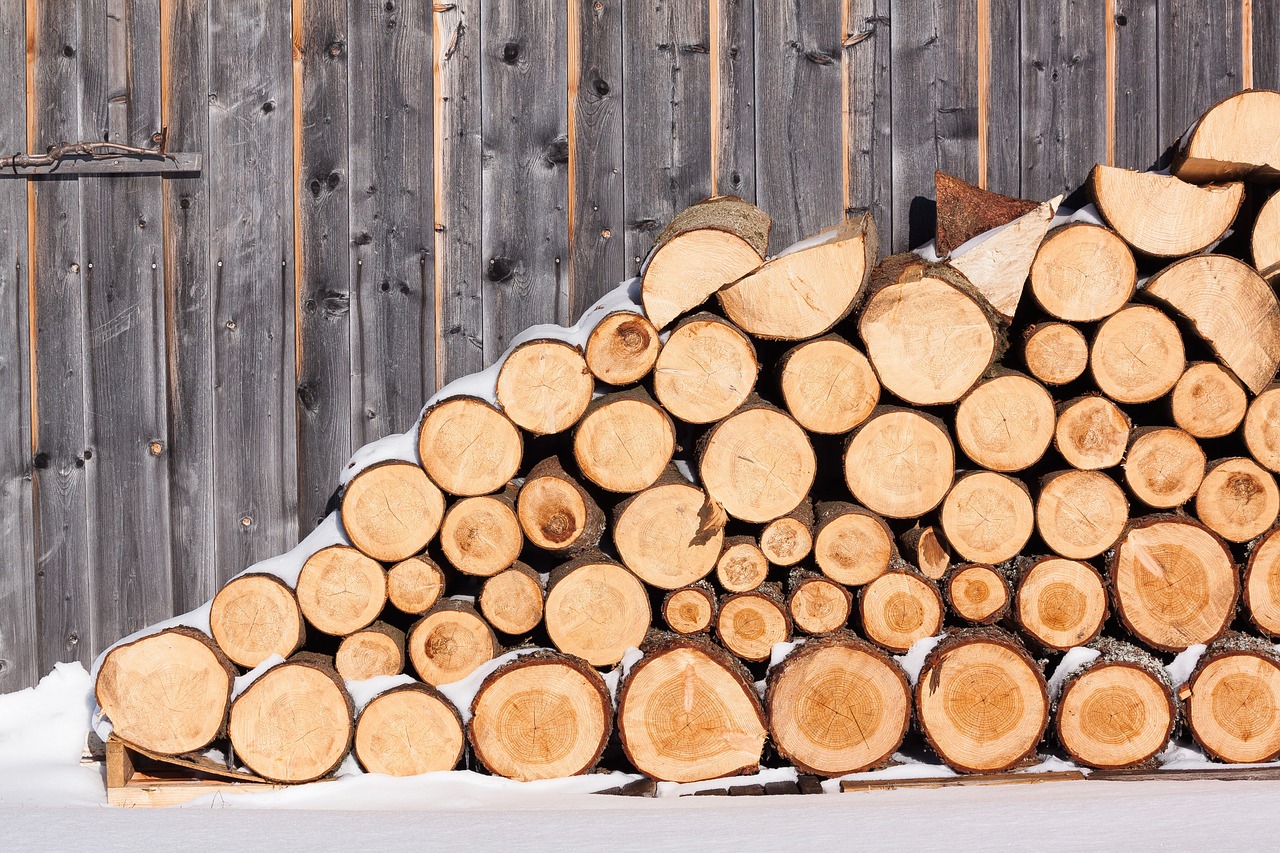
Do you know your softwood timber from your hardwood? What exactly is the difference between treated and untreated planed timbers? For any newbie starting out on their first DIY project, getting your head around all the terminology associated with types of timber can be very confusing!

Thankfully, we’re on hand here at eDecks to give you the lowdown on everything you need to know about timber.

Getting to Grips with Types of Timber

The types of timber you choose will be largely dependent on the project itself, regardless of whether you’re erecting a fence or laying down some brand new decking. For those on a budget, softwood timber is the preference due to the cheap price point. However, all softwood timber should be pressure treated with a wood preservative, not only to extend the life of the material itself, but also to abide by UK government regulations.

Whilst harder to work with, and a bit more expensive, hardwood timber is a popular choice thanks to its durability and rich colour. For projects that require materials than can stand up against heavy use, hardwood timber is the recommended choice.

To Treat or Not To Treat?

Much like weighing up whether to use hardwood or softwood timber, the choice to opt for treated or untreated comes down to the individual project.

Untreated timber defines itself through the lack of preservatives and chemicals added, making it a fairly “natural” solution. In contrast, treated timber is doused with chemicals and preservatives to greatly extend the life of the material and protect against rot, wear and pesky creepy crawlies.

Choosing treated timber may seem like a no-brainer, but some DIY enthusiasts choose to opt for untreated timber due to the cheaper price point, as well as concerns about health and the hazardous preservatives (albeit considerably less toxic than previously manufactured) used to make treated wood.

In short, for activities that handle an outdoor purpose, or come frequently into contact with insects, treated timber is the recommended material. However, for projects with the end goal involving food or people, such as a desk or dining table, untreated timber may be better placed.

All Sawn Up!

Looking to wrap up a project sharpish, on the cheap? Don’t be lured in by lower prices – rough sawn timber is only for the hard-core DIY enthusiasts! But if you love crafting your project from start to finish, rough sawn timber may be perfect for you as it offers greater control. Rough sawn timber will need to be planed and dried before being used in a project. Expect the rough sawn timber to arrive slightly larger than finished timber as it will shrink down during the planning and drying process.

Timber Supplies at eDecks

At eDecks, we offer a vast range of types of timbers at wallet-friendly price points to suit projects of all levels. If you’re still not sure which timber to use for your project, simply get in touch with our friendly team on 0844 474 4444 and they’ll be more than happy to advise! Ready to get cracking? Head on over to our timber bestsellers to snap up a bargain now!

How to Apply a Decking Stain like a Pro

decking stain

Is your decking looking a little tired? Applying a fresh coat of a decking stain can breathe life into old boards – and is much more cost effective than replacing your deck altogether. But for any newcomer to DIY, with so much room for error, applying a decking stain can feel like a daunting task.

Do not fear – we are here to share our top tips on how to apply a decking stain like a pro!

Sample Your Stain

Getting the right finish and feel for your deck begins with choosing the correct stain. Consider your surrounding décor and choose a colour that compliments your household exterior well. For instance, if your home is built up on a red brick theme, contrast your deck with a blue hue.

Another top tip is to consider the wood of your deck. Each wood will have its own hue – stick to the natural tones to bring out the underlying colour, or alternatively opt for an opaque stain to negate the undertones.

Once you’ve selected a few stains you think fit the bill, gather some samples to try out on an inconspicuous part of your decking. How your stain appears on the tin may be very different to how it dries on your own boards.

Scrub Up

The key to getting the best out of your decking stain project is to prepare your canvas. If your deck has been subject to a build-up of old stains, use of a deck stripper will be necessary to create an even and smooth foundation.

For decks that have simply weathered with age, a good scrub is required to remove any mould, mildew and dirt.  A pressure washer can be effective in helping to quickly remove any build up, but be sure to leave the deck to dry through completely before cracking out your new stain.

Not All Stains are Made Equal

After all the hard work of scrubbing up and sampling your new stain, it can be tempting just to grab a paintbrush and get stuck into revamping your decking, but before you do so, be sure to study the accompanying instructions that come with your decking stain.

Depending on the brand or type of decking stain you choose, application may vary – some stains may require several applications, or other types may only be compatible to a softwood deck.

It’s far less of a headache to check through the instructions of your decking stain than it is to repeat the stripping and cleaning process all over again!

Add a Little Elbow Grease

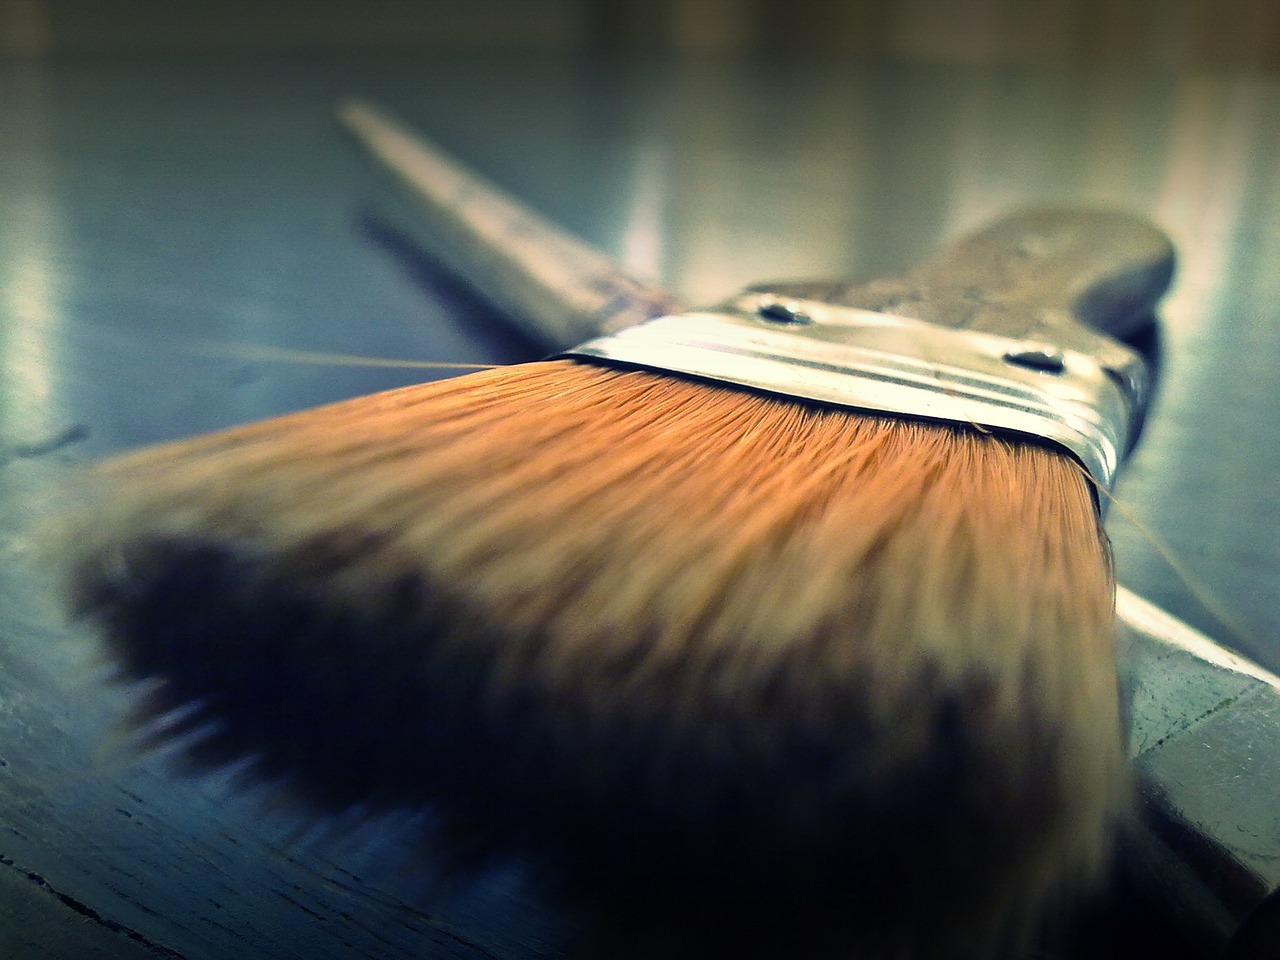
For those that are time-strapped, a garden sprayer or roller are both popular tools to use to apply a stain quickly. However, due to the porous nature of wooden decking, this isn’t always the most effective application, so using some good ole’ elbow grease and a paintbrush will help to work your stain into the grooves of the wood.

A combination of all three tools is absolutely fine, as long as your boards are given the once over afterwards with a paintbrush.

A cautionary tip: when applying your stain, repeat the mantra “less is more.” Applying too much stain to wooden decking can result in some very unsightly peeling once dry.

If your decking is struggling to absorb your stain, then consider using a lighter hand.

Top Tips for Applying Decking Stain

What are your top tips for applying decking stain? Do you have a preferred set of tools for the job? Share your experiences with us in the comments!

Navigation