

Thinking of laying paving slabs? Well, we agree it’s an excellent choice for any patio, garden path or driveway – paving slabs stand the test of time well and looks incredible for years to come. Although it looks a little complicated to fit, you can do it yourself – but you might want to take note of a few of these insider tips before you begin!
Order samples before you buy
Before you start any paving – it’s good practice to get your hands on a few samples of different colours and types of paving slabs before you fork out for an entire patio. Although one particular colour or look may look good in a photo online, different weather, light and surrounding landscaping can suit different colours or styles more than others. That’s why it’s best to order a few samples to lay down in your garden before committing to anything – that way you can view some slabs in situ, in different lights and times of day in your garden – and decide which suits yours best.
It’s much easier to change your mind before anything is installed than realising after you’ve invested in the whole set of slabs that you don’t like the colour!
One of our favourite slabs for any paving project is Indian stone paving. Not only is it real stone, so weathers well and can be easily jet washed, the unusual patterns give a more complex and contemporary look than traditional square slabs.
You can check out some beautiful Indian stone paving slab samples now right here.
Lay it all out before you jump in…
Using building line should help you get a precise, clean edge for your patio and is really simple to use, so it’s a good idea to use it as often as possible when you’re laying out your space – before you dig the area needed, and even before laying the slabs, it can provide a clean guide to help you achieve a professional finish to your paving.
To figure out how many slabs you need, you can run your building line out to where you would like the edges of your patio to sit before measuring the area required to be covered. If you’re planning on creating a large area for barbeques and entertaining, you can even lay out your furniture on the grass outside before laying the building line out so that you ensure you leave enough space for the patio you desire.
…especially if you’re laying Indian Stone Paving
Indian stone paving is a stunning choice – and although they may look a little complicated to lay, using the right preparation, you can definitely do it yourself. Rather than waiting until you’re ready to lay down your slabs, it’s a good idea to lay out your slabs in the shape you’re hoping for before attaching them to anything. That way, you can easily see which slabs need to be cut before you start and it gives you a chance to play about with the pattern a bit before committing to a final result.
One you have your Indian stone paving slabs laid out in the way you finally want them to sit, it’s a good idea to take note of where all the slabs are laying. One way to do this is to number the slabs on the bottom, so you can remember which order you should lay them in. It can also help to take a photo of the slabs, then make a basic outline drawing that you can number and carry with you while you lay out your Indian Stone Paving Slabs.
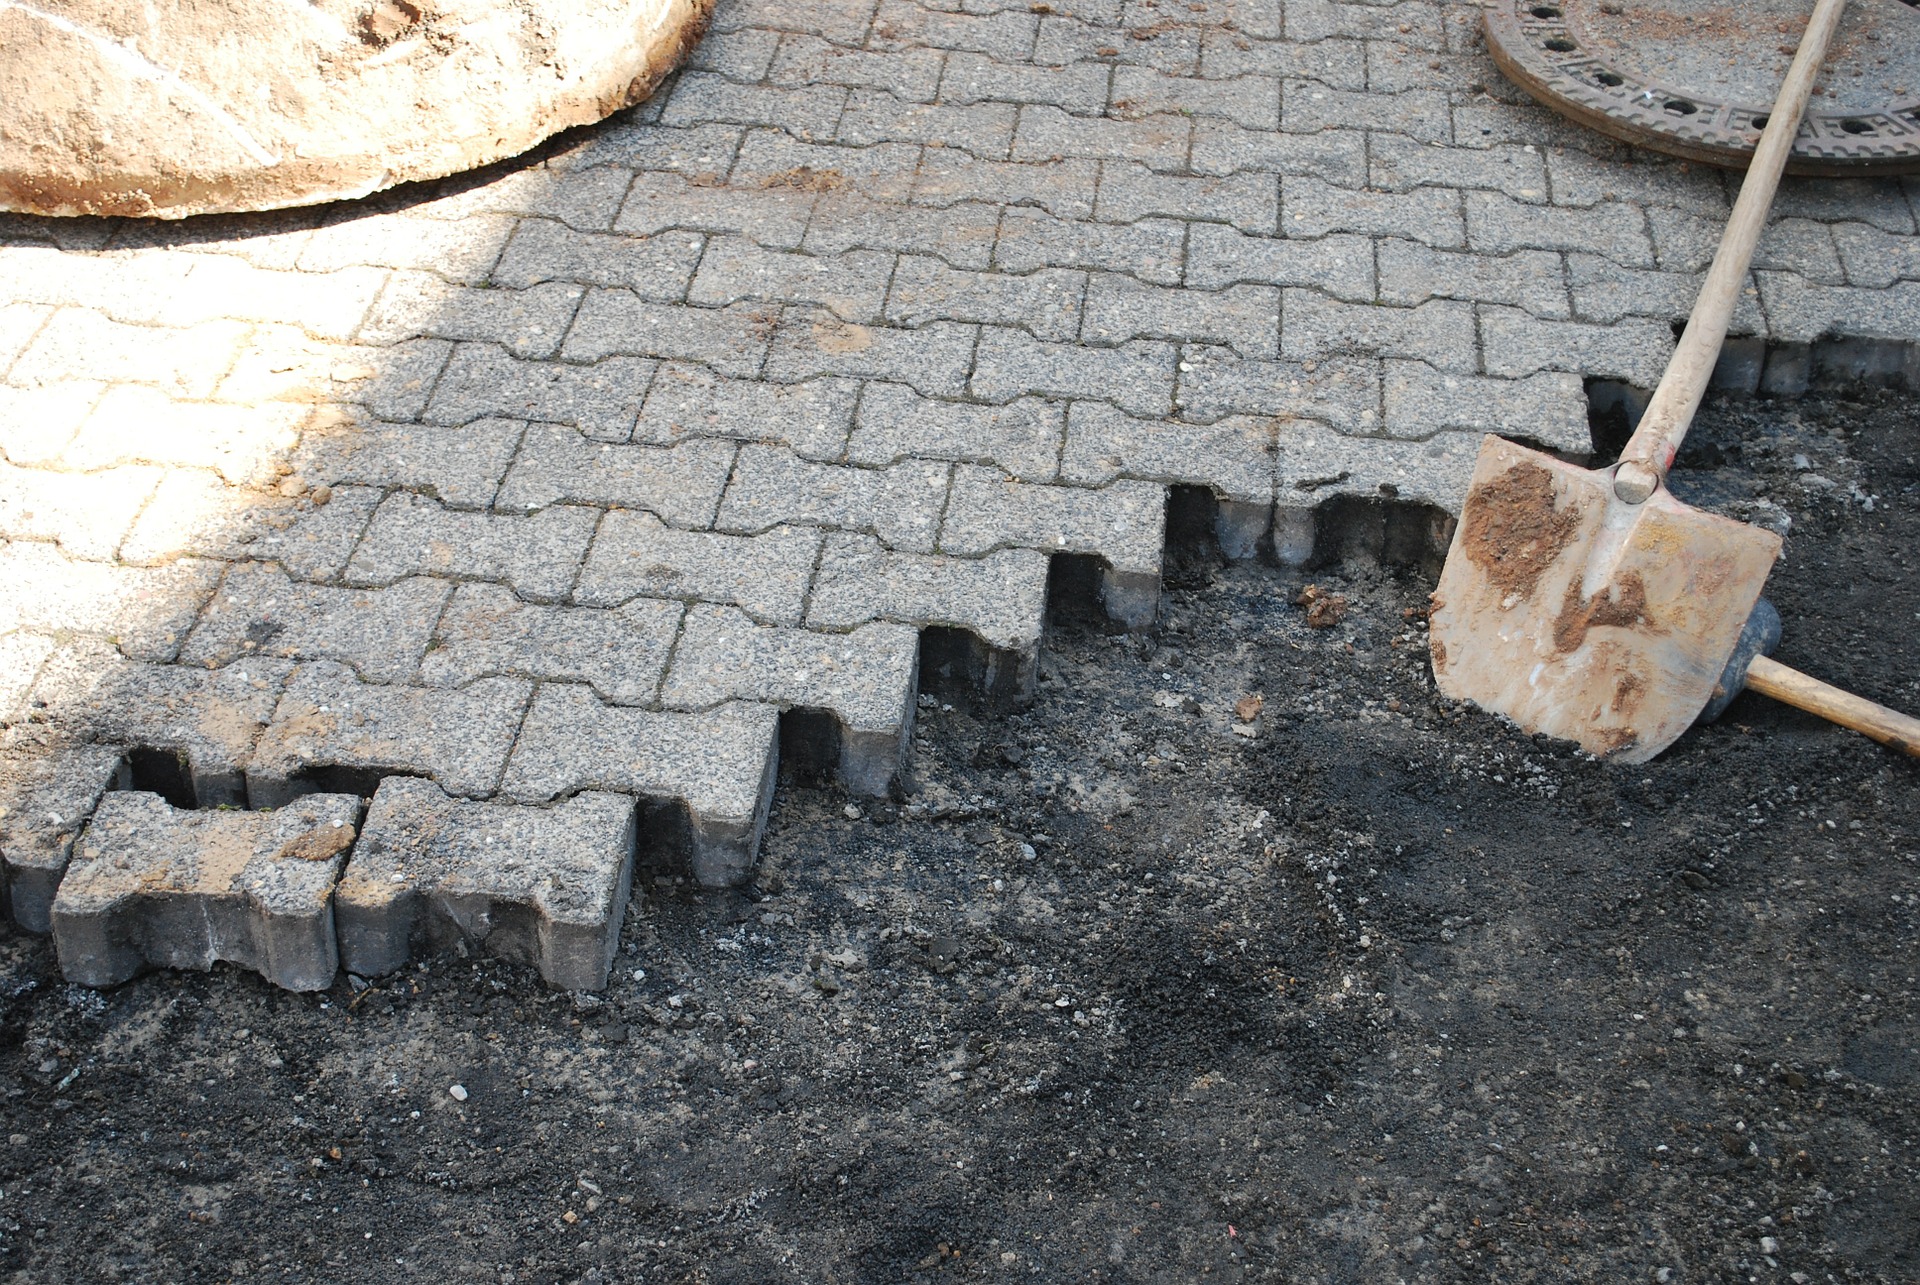
Prepare your ground properly before laying slabs
You need to prepare your ground before laying out your slabs, and this includes more than just digging up the area they’ll need to go into; you’ll need a hardcore (also known as a sub-base) to sit at the bottom of your paving (usually made of limestone or sand), followed by your mortar then your slabs.
Extra tip: To keep weeds from growing up through your patio, you can lay a weed suppressant fabric before laying down your hardcore. It’s very inexpensive and can help to keep weeds at bay for years to come.
Slightly slope your slabs
Water can settle on your patio and cause severe damage over the years if it’s not drained properly. What most professionals don’t tell you is that, to combat this, it’s best practice to slightly slope your slabs rather than keep them completely straight.
You can do this by creating a measured slope using builders line at the top and bottom of the slope, and follow the angled line to ensure you lay your slabs on at an angle while avoiding uneven slabs which can become a tripping hazard.
Protect your patio during the build
It’s no secret that it can get pretty rainy in the UK – and building a patio can take a number of days to complete, which increases the chances of your project being hit with rain before you’re finished.
To avoid excess moisture getting into the project before you’ve completed your work, professionals will cover the area with a weather proof cover up for building work. This will ensure that your measurements, materials and building lines won’t be ruined by the rain overnight!
Don’t walk on your paving slabs
Once you’ve laid out all of your paving slabs, be sure not to walk on them until the mortar is completely dry, usually 24-48 hours after you finished the pointing. The reason you’ll want to avoid putting any weight on the slabs is that you can cause them to move and the surface will become uneven – which can cause slabs to misalign and creates a tripping hazard, not to mention it ruins the professional look of your paving.
If you have laid the paving in a high traffic area and absolutely must walk over them before they are dry, it’s recommended that you place a large wooden board over the slabs before stepping onto them as this will spread your weight further and reduce any damage caused.
Finish with a seal
Another handy tip you can use is to finish your patio with a seal. Patio seals provide further weatherproofing as well as preventing algae and moss to grow on your paving, which makes your paving much easier to maintain. You can get wet look paving seals and satin finish paving seals to suit whichever finish you prefer. Another plus is that paving seals not only help to protect your work, but they also help to make the finish look much more professional.
Fancy a challenge? Try a paving circle.
Paving circles look incredible in any patio; whether they are leading up to a circular stairway or are a focal point for a fire pit, they look pretty amazing – but can be trickier to install than square slabs!
The main issue when laying a paving circle is cutting the surrounding paving slabs in a curve to fit – but there are a few handy tips that you can you to help you get a precise line. Firstly, you can use the circular slabs as a guide when you’re drawing your cutting line to ensure a near perfect finish. You can also tie builders line to a wood pole in the centre of where the circle will lay, with a chalk marker on the outside end of the line to draw a perfect circle on your surrounding slabs.
Remember when cutting paving slabs, you don’t need to cut the full depth of the slab – if you cut two third of the way in, you should be able to snap the slab evenly. You can of course also use an angle grinder to cut the whole depth carefully.
All of our paving circles match with a corresponding Indian stone paving slab, so you can ensure your entire project has the same stone throughout.
Before you buy your paving slabs and project equipment from just anywhere online, you might be interested to know that here at eDecks you can expect:
Super fast FREE delivery on orders over £100*
48 Hour delivery on many products
Instant FREE credit for Schools, Colleges & More
Handy FREE installation guides (and even instructional videos!)
Incredible prices on all of our paving products
*Free delivery applies to most of the UK, but some areas may incur a charge, unfortunately – please check the eDecks website for more details.
To view our full paving range and get more free advice on your paving project, you can find out more here on our website.
Great article.. iam looking for this information. Thanks for sharing.
Paving Blocks
Thanks for finally writing about >Laying Paving
Slabs: Tips, Tricks & Advice – eDecks Blog <Liked it!
Excellent article I was searching for this information! Thanks for sharing and giving us good tips, tricks and advice! Good job on this master piece!