Tag: roof

How To: Lay Shingles

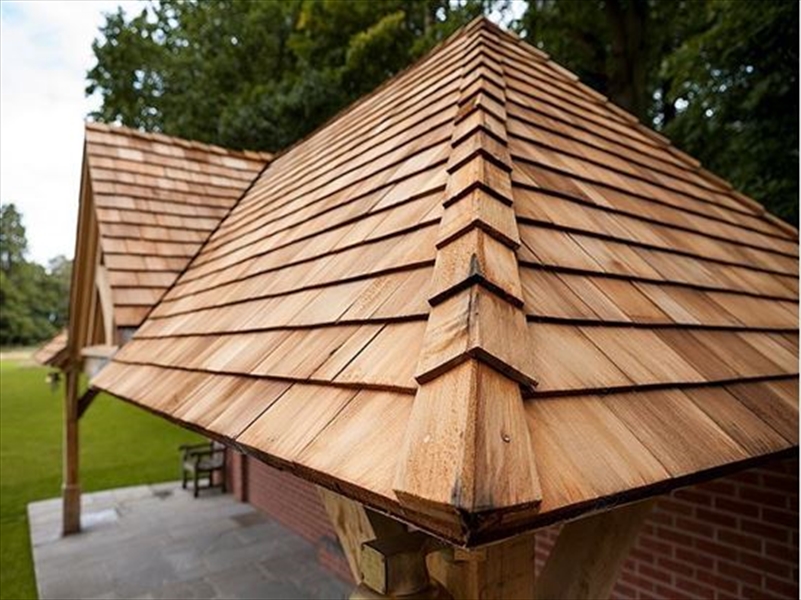
Shingles are a recently popular roof covering which offers good insulation and is often considered one of the longest lasting and attractive-looking roof coverings. When instructed correctly, shingles can be easy to fit, however mistakes can otherwise be made, so today we are giving you an insight on how to correctly lay shingles.

shingles

Firstly, there are three different grades of shingles;

  • Black Label: A utility grade for economy applications and secondary buildings.
  • Red Label: These are your standard grade shingles.
  • Blue Label: Your highest quality shingles, with no knots and no discolouration.

shingles laid

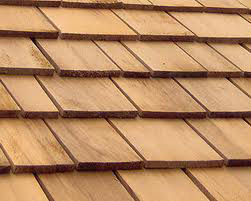
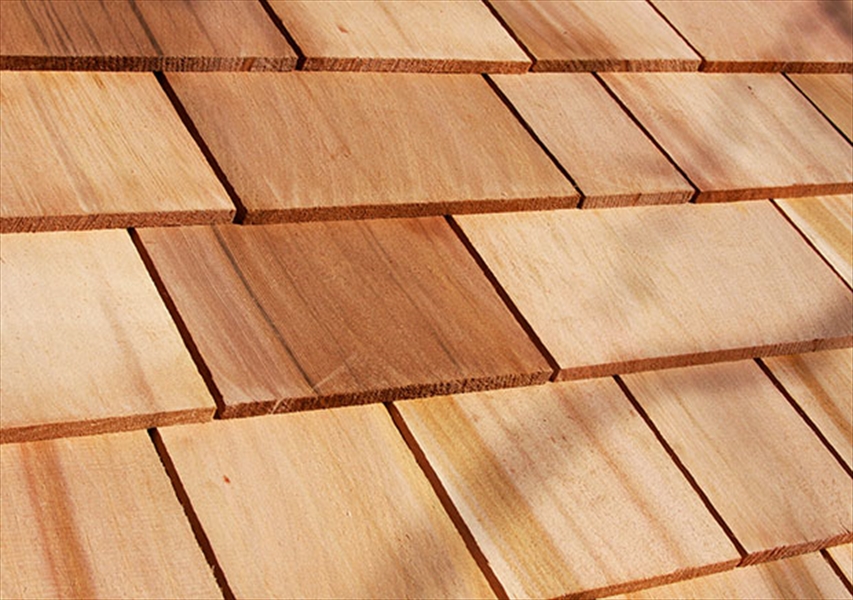
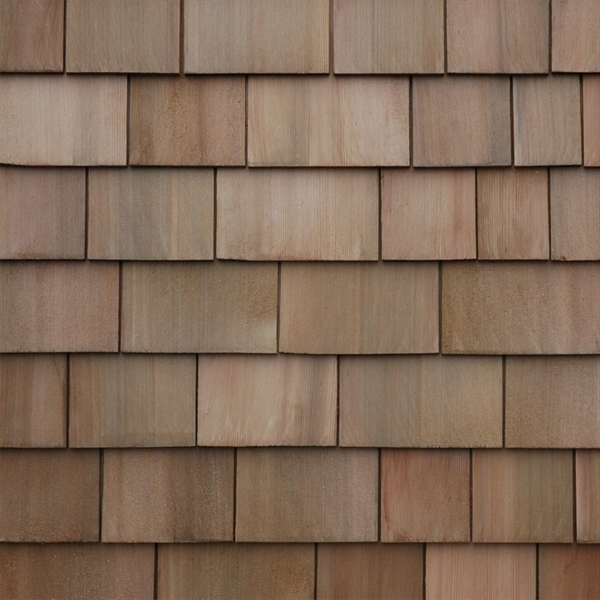
Our shingles are light to transport yet durable and offer a high degree of thermal insulation. They are aesthetically pleasing and practical and will adopt a pleasant silvery grey shade over time. Western Cedar is naturally insect and rot resistant, therefore requiring no further treatment.

bundle of shingles

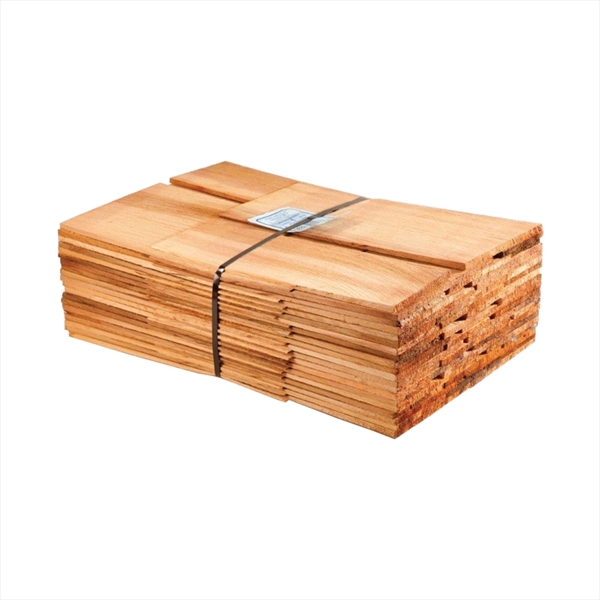
Cedar Shingles are supplied in bundles and coverage will depend on the application. For maximum life, fixing should be made with two silicone bronze annular ring nails per shingle and roughly 1kg of nails will be required for every 6 bundles of Cedar Shingles.

nails

Installation

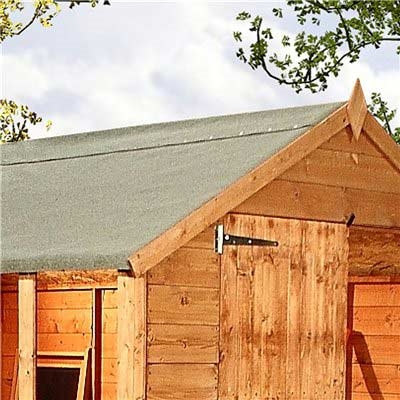
Step 1: Cover the roof using roofing felt, and use a hammer stapler to fasten it down, stapling every 304.8mm to 355.6mm.

Step 2: Position the first shingle so its end overhangs the edge of the roof by 31.75mm to 38.1mm. Secure it to the roof with two nails near the top edge of the shingle, about 1 inch below its top edge.

Step 3: Put the next shingle about 3.175mm to 6.35mm away from the edge of the first shingle. This will allow room for the shingles to contract and expand. Ensure the second shingle overhangs the edge of the roof by the same amount as the first shingle. Attach the shingle to the roof with two nails near its top edge.

Step 4: Apply the remaining shingles in the first row using the same method.

Step 5: Apply a second layer of shingles directly on top of the first row. This then adds an extra-high level for the edge of the roof, which creates more space between excess rain and snow and the edge of the roof, where this often collects.

Step 6: Split a shingle in half vertically for the first shingle in the third round of shingles. This helps to create a staggered pattern, similar to traditional bricks. Cut down the centre of the back of the shingle and snap it in half with your hands. These are then installed so that they cover the spaces between the shingles in the row below. Position the shingles in the third row so that the vertical centre falls above the gap between the two shingles in the first and second rows, which are installed one on top of the other.

Step 7: Use a small piece of shingle as a template to position each shingle so that it covers about half of the shingles below it in the previous row and leaves about half the shingles exposed. This is known as the reveal of the shingles, so it should be the same on ever shingle, which is why it is beneficial to have a template with which to measure the reveal on each single.

Step 8: Place shingle ridges on the ridgeline at the top of the roof and then install them after the other shingles are installed on the rest of the roof.

shingle ridges

Mistakes to Avoid

  • When estimating the amount of shingles needed, do not make the mistake of trying to estimate the number until you have figured the square footage area of your roof. Then, use that figure to estimate the number of shingles you will need.
  • Don’t try to estimate the entire roof area all at once. Estimate the square foot area of each section, separately. Then add them together and begin by measuring the roof width and roof height on one section of your roof, then multiplying the two numbers.
  • You will need a solid surface for any replacement shingles, so don’t begin installing the new shingles until you have replaced any missing nails in the old shingles and have nailed down all old shingles that are loose.
  • For a roof with more than three layers of shingles, ensure you remove the old ones before you install any new ones. Use a crowbar, nail bar or roofing shovel to loosen the old shingles and remove them and loose nails before attaching a layer of roofing felt.

shingles settled

eDecks offers some of the best deals on Shingles around, including all of the installation supplies and tools you may need. Not only do we provide plenty of unbeatable deals but also:

Super-fast delivery!

Handy FREE installation guides.

All Shingle sales do incur a delivery charge of £25.19 anywhere in the UK.

Call us for Bulk Options!


Sheds: The Benefits of Building Your Own

It has now become more popular than ever to build your own shed, and believe it or not, it is much easier than you may imagine. Today we are going to be taking a look at how to choose the best materials and the right tools to create your very own dream shed.

Sheds are no longer seen as a garden essential, and with the amount of materials now available, you can make your shed into a garden feature. With the World Cup coming up, you may want to add an outside bar to your garden, a shelter for hot tubs, or even a play house for your little munchkins, as well as having somewhere to store all of your tools.

There are so many options available, that it doesn’t need to cost a fortune to build your own shed, and by using certain timber treatments such as Ronseal or Cuprinol paints, you can really go to town with your colours, creating a look that costs way less than it appears to. Let’s take a look at the materials and tools needed to create your dream shed.

It is worth remembering that poor quality timber, fixings and foundations will lead to a poorly finished product, and here at eDecks we strive to achieve quality at an affordable price. To build your own shed, you should be looking at opting for the following basics;

When choosing timber for your shed, opt for high quality, long lasting products that will weather well and keep your lawnmower and tools safe from bad weather. Our garden shed materials are available individually or together in a kit, and our sales team can advise you on which option would be best for you.

To give your shed a professional finish, it is important to use professional tools and safety equipment – we recommend heavy duty gloves, eye goggles and protective clothing. You will then need a ladder, a spirit level to ensure a sturdy structure, tape measure, power drill and a claw hammer. You can also use shed felt and a sealant gun if you are planning on insulating your shed to further protect it from the elements.

Shed Felt

Basic Steps to Building a Shed:

  • Laying the base and foundation – you’ll need treated wooden shed beams and a concrete base
  • Assembling the shed floor
  • Raising the walls into place
  • Fitting the roof
  • Fixing the windows (if you decide to include any)
  • Fixing the walls to the floor

There are numerous free plans and designs available online to help you find something that suits your garden’s style. To help you decide whether you are wanting to build your own shed or buy one already made, we have come up with some of the benefits to building your own;

  • Due to a vast range of products, you can create any shape or size you require
  • It can be made light, medium or heavy duty
  • You can create a whole range of different shapes
  • Doors and windows can be sized and located how you wish
  • Add-on features can be customised inside and outside
  • It can be made as cost-effective as suits your budget
  • Building your own helps you to make your shed as strong or lightweight as you need

To finish with, we have a wide variety of timber treatments available, including a rainbow of paints from trusted companies such as Cuprinol and Ronseal, to really give a personalised touch to your brand new garden feature.

eDecks offers some of the best deals on shed building materials around, including all of the supplies and tools you may need. Not only do we provide plenty of unbeatable deals but also:

Super-fast FREE delivery on orders over £100*

48 Hour Delivery on many products

Handy FREE installation guides and instructional videos

*Free delivery applies to most of the UK, but some areas may incur a charge. Please check the eDecks website for more details.

Galvanised Roofing Sheets: An Introduction

galvanised 1

Galvanised roofing sheets are a simple and speedy fix, offering enough flexibility to cover projects of all levels, such as a DIY project to a much larger commercial job. They have the capacity to cover large areas dependent on the size selected and are often chosen due to their protective attributes and lightweight properties. From a cosmetic point of view, galvanised roofing sheets offer something more traditional and are considered to be very cost effective.

A galvanised roofing sheet is steel that has been formed into a flat panel of sheet and is commonly referred to as steel sheet metal, which has undergone the galvanisation process in order to prevent corrosion. The galvanisation process is completed by the steel sheet undergoing a chemical process which increases resistance to corroding over the years. This process also makes the steel much stronger and more dependable.

Key Benefits:

  • Even in rural and harsh conditions, galvanised roofing sheets have a life expectancy which is much longer than sheets which have not been treated for protection against corrosion. This makes it a better option because it reduces how often the materials will need to be replaced.
  • Galvanised roofing sheets are a sustainable and recyclable product and because it has been treated with a zinc coating, galvanised roofing sheets will last longer, ensuring a lower impact on the environment. The material can also be reused if its properties have not had too much use over time.
  • Reliability is a key benefit when it comes to galvanised roofing sheets, and how the product will react throughout its lifespan is easily predicted and presents very few products over time. Galvanised roofing sheets are also renowned for their strength as it can hold its weight when implanted in structural applications.
  • Another advantage of galvanised roofing sheets is that due to the longevity of them, they are almost always the most cost-effective material. More often than not, galvanised steel is cheaper upfront than other methods of treatment and even if the initial cost is more, the long-term costs will be much lower because of how long they last and how little maintenance they require.

To ensure your galvanised roofing sheets are securely fastened down, we highly recommend Spring Head Nails, which are the perfect fit with an extra-large head to distribute the load directly underneath the top of the nail. Spring Head Nails have a twisted shank for increased holding power and absorb movement when expanding and contracting in varying climates and ensure your roofing stays firm and secure and come complete with PVC dowty washers.

galvanised 2

There are two types of galvanised roofing sheets, and starting with Box Profile Sheets, these are economic sheets in a robust, rigid profile design that offer high strength and are available in multiple lengths. Box Profile Sheets are suitable for industrial, agricultural, commercial and domestic roofing and cladding, and can be used as single skin sheeting, over clad of an existing roof or part of a built-up insulated area. They are lightweight, fast and easy to fit, and are the perfect product to be used on walls and roofs. Box Profile Sheets are made using seven rigid profiles of 166mm pitch across the sheet width and 34mm profile height ensuring maximum strength. You will find that they have a wider coated steel strip which gives a secure weatherproof lap, and are a modern alternative to traditional, corrugated roof sheets, often being favoured for domestic properties.

Whereas Corrugated Roof Sheets give a more traditional look compared to Box Profile Sheets and have been around for many, many years. Their popularity often occurs due to their ability to be cut to length, making them a quick and easy roofing solution. Corrugated Roofing Sheets are available in a variety of colours and finishes enabling you to personalise your roofing, whether it be in a domestic, industrial or agricultural setting.

Here at eDecks we have a broad range of sheet sizes which have been manufactured to a very high standard which gives you, the customer, great value for money and longevity in demanding seasonal environments. Be sure to check out our Galvanised Roofing Sheets here.

eDecks offers some of the best deals on Galvanised Roofing Sheets around, including all of the installation supplies and tools you may need. Not only do we provide plenty of unbeatable deals but also:

Super-fast FREE delivery on orders over £100*

48 Hour Delivery on many products

Handy FREE installation guides and instructional videos

*Free delivery applies to most of the UK, but some areas may incur a charge. Please check the eDecks website for more details.


Navigation