Category: roofing

ONDULINE® CLASSIC Roofing Sheets For Aesthetic Fence Coverings

With its excellent durability, ONDULINE® CLASSIC is made from 50% recycled cellulosic fibres, which are derived from wood, giving the panels their mechanical strength that make them well suited as an aesthetic fence covering for existing fences and gates.

Can be installed on fully boarded fence panels or with support battens.

ONDULINE® CLASSIC is the market leading bituminous corrugated roofing sheet, that has traditionally been used to cover the roofs of timber buildings, such as sheds, stables, agricultural and garden building. It’s now even more versatile with it being tried and tested as a fence covering for those seeking a stylish and robust finish.

ONDULINE® CLASSIC Roofing sheets for an aesthetic fence covering.

Available in a range of colours: black, red, grey, brown and green. Easily fixed with ONDULINE® SCREW fixings No additional accessories required…
View our installation guide here

ONDULINE Classic Installation For Fences And Gates

ONDULINE® CLASSIC is the market leading bituminous corrugated roofing sheet, that has traditionally been used to cover the roofs of timber buildings, such as sheds, stables, agricultural and garden buildings.

With it’s excellent durability, ONDULINE® CLASSIC is made from 50% recycled cellulosic fibres, which are derived from wood giving the panels their mechanical strength that make them well suited as an aesthetic fence covering for existing fences and gates.

Can be installed on fully boarded fence panels or with support battens.

FULLY BOARDED FENCE PANELS (MIN. 30MM) 

FULLY BOARDED FENCE WITH SUPPORT BATTENS

Vistalux Roofing: A Guide

Here at eDecks, we have our sister site eRoofs, which showcases a wide variety of roofing materials, suitable for all projects, and today we are going to discuss Vistalux Corrugated PVC Roofing sheets. Vistalux PVC is a versatile, corrugated rooflight sheet suitable for car ports, canopies and gazebos. They are economic and lightweight and are super easy to cut, drill and install with standard DIY tools.

Vistalux sheets are available in a choice of corrugated profiles in both clear or translucent tint options as well as being UV resistant for durability. As mentioned, Vistalux are lightweight roofing sheets, and on average, the lightweight sheets are 0.8mm, Heavy Duty 1.1mm and Superweight 1.3mm, which does vary by profile.

vistalux

How to Install Vistalux Roofing Sheets

  • For a car port or lean to installation you will need:
    • Vistalux PVC Sheet
    • Vistalux PVC Wall Flashing
    • Vistalux PE Eaves Fillers
    • Vistalux Super Fixings
    • Flashing Tape
    • A minimum slope of 5 degrees is essential in any structure to ensure water run-off: 10 degrees or more is better.
  • To Cut the Sheets:
    • Arrange the sheets loosely on the roof and mark hole positions and any necessary saw cuts with a felt tip pen.
    • Sheets should overhang the roof by 60mm to allow a rainfall to run-off into the gutter and should be wide enough to cover the barge board at the side.
    • If cutting is required use an angle grinder with a metal slitting blade or fine tooth saw at a shallow angle with pressure. Support the sheet to minimise vibrations.
    • A good tip when cutting, is to sandwich the sheet between other sheets with the part to be removed protruding.
    • If a sheet has to be cut to a finished width, make the cut in the slope of the corrugated sheet.
    • Avoid drilling and cutting sheets in very cold weather as warm sheets will be less prone to damage.
  • Drilling the Sheets:
    • Pre-drill the sheets before fixing. Holes for fixings must be drilled larger than the fixing to allow for expansion – around 10mm for a 3mm sheet.
    • Drill the sheets singly with a masonry bit, using a low speed drill and light pressure. Then support the sheet securely under each hole position when drilling.
    • There should be at least 5 fixings per support across the width of the sheet.
  • Flashing:
    • Vistalux wall flashing to match the sheet corrugation is installed at the top of the slope. The Wall Flashing is then fixed firmly into position with Butyl wall flashing tape which then forms a watertight seal between the sheet and the wall.

wall flashing

  • Fixing:
    • Start fixing the sheets – Eaves Fillers are used under the sheets at all support positions to prevent roof ‘chatter’ and to support the sheets when fixed.eaves
      • Use screws, caps and washers to secure the sheet – the screw is sufficiently tight when the washer under its head can just be rotated with finger and thumb.fixings
  • Joining the Sheets:
    • If the sheets need to be joined end to end, ensure an overlap of at least 150mm for a ten degree slope or 300mm for a five degree slope.
    • Use a strip of Butyl Sealing Tape to prevent dust and dirt getting between the sheets.flashing tape

It is important to remember:

  • Vistalux can be used in temperature conditions from -20˚C to +60˚C
  • Any paints or preservatives applied to the supports must be thoroughly dry prior to fixing the sheet to avoid any damage
  • We recommend that any surfaces of support immediately under the sheet is light in colour or white
  • False ceilings, insulation or any other opaque material must not be placed under the fixed Vistalux sheets, as the temperature in the gap between these and the sheet could rise to over 60˚C, which could then cause distortion or discolouration
  • To clean the sheets, use warm soapy water and a soft sponge or cloth
  • Before use, ensure you store the sheets indoors on a flat dry surface in cool surroundings

eDecks offers some of the best deals on Vistalux Roofing Sheets around, including all of the installation supplies and tools you may need. Not only do we provide plenty of unbeatable deals but also:

Handy FREE installation guides.

Super-fast FREE delivery on orders over £100*

*Free delivery applies to most of the UK, but some areas may incur a charge. Please check the eDecks website for more details.

How To: Lay Shingles

Shingles are a recently popular roof covering which offers good insulation and is often considered one of the longest lasting and attractive-looking roof coverings. When instructed correctly, shingles can be easy to fit, however mistakes can otherwise be made, so today we are giving you an insight on how to correctly lay shingles.

shingles

Firstly, there are three different grades of shingles;

  • Black Label: A utility grade for economy applications and secondary buildings.
  • Red Label: These are your standard grade shingles.
  • Blue Label: Your highest quality shingles, with no knots and no discolouration.

shingles laid

Our shingles are light to transport yet durable and offer a high degree of thermal insulation. They are aesthetically pleasing and practical and will adopt a pleasant silvery grey shade over time. Western Cedar is naturally insect and rot resistant, therefore requiring no further treatment.

bundle of shingles

Cedar Shingles are supplied in bundles and coverage will depend on the application. For maximum life, fixing should be made with two silicone bronze annular ring nails per shingle and roughly 1kg of nails will be required for every 6 bundles of Cedar Shingles.

nails

Installation

Step 1: Cover the roof using roofing felt, and use a hammer stapler to fasten it down, stapling every 304.8mm to 355.6mm.

Step 2: Position the first shingle so its end overhangs the edge of the roof by 31.75mm to 38.1mm. Secure it to the roof with two nails near the top edge of the shingle, about 1 inch below its top edge.

Step 3: Put the next shingle about 3.175mm to 6.35mm away from the edge of the first shingle. This will allow room for the shingles to contract and expand. Ensure the second shingle overhangs the edge of the roof by the same amount as the first shingle. Attach the shingle to the roof with two nails near its top edge.

Step 4: Apply the remaining shingles in the first row using the same method.

Step 5: Apply a second layer of shingles directly on top of the first row. This then adds an extra-high level for the edge of the roof, which creates more space between excess rain and snow and the edge of the roof, where this often collects.

Step 6: Split a shingle in half vertically for the first shingle in the third round of shingles. This helps to create a staggered pattern, similar to traditional bricks. Cut down the centre of the back of the shingle and snap it in half with your hands. These are then installed so that they cover the spaces between the shingles in the row below. Position the shingles in the third row so that the vertical centre falls above the gap between the two shingles in the first and second rows, which are installed one on top of the other.

Step 7: Use a small piece of shingle as a template to position each shingle so that it covers about half of the shingles below it in the previous row and leaves about half the shingles exposed. This is known as the reveal of the shingles, so it should be the same on ever shingle, which is why it is beneficial to have a template with which to measure the reveal on each single.

Step 8: Place shingle ridges on the ridgeline at the top of the roof and then install them after the other shingles are installed on the rest of the roof.

shingle ridges

Mistakes to Avoid

  • When estimating the amount of shingles needed, do not make the mistake of trying to estimate the number until you have figured the square footage area of your roof. Then, use that figure to estimate the number of shingles you will need.
  • Don’t try to estimate the entire roof area all at once. Estimate the square foot area of each section, separately. Then add them together and begin by measuring the roof width and roof height on one section of your roof, then multiplying the two numbers.
  • You will need a solid surface for any replacement shingles, so don’t begin installing the new shingles until you have replaced any missing nails in the old shingles and have nailed down all old shingles that are loose.
  • For a roof with more than three layers of shingles, ensure you remove the old ones before you install any new ones. Use a crowbar, nail bar or roofing shovel to loosen the old shingles and remove them and loose nails before attaching a layer of roofing felt.

shingles settled

eDecks offers some of the best deals on Shingles around, including all of the installation supplies and tools you may need. Not only do we provide plenty of unbeatable deals but also:

Super-fast delivery!

Handy FREE installation guides.

All Shingle sales do incur a delivery charge of £25.19 anywhere in the UK.

Call us for Bulk Options!


Polyester, Plastisol and Anti-Condensation Coatings: What’s the difference?

Here at eRoofs we currently stock a variety of coatings for our roofing sheets, including Polyester, Plastisol, and Anti-Condensation. But, what’s the difference? Let’s find out…
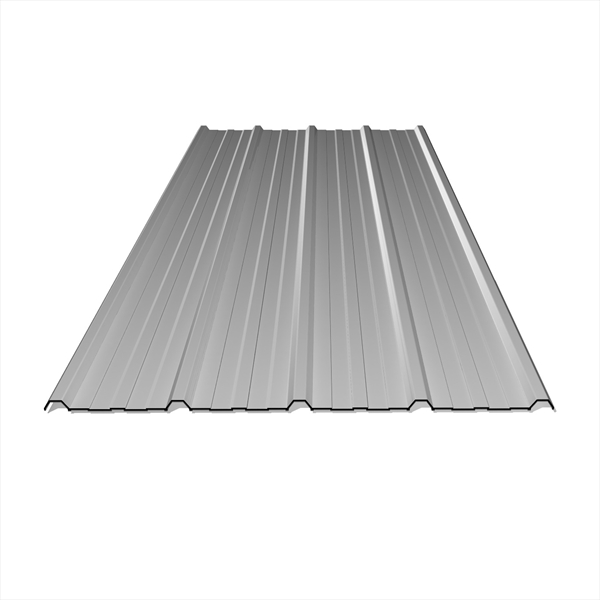
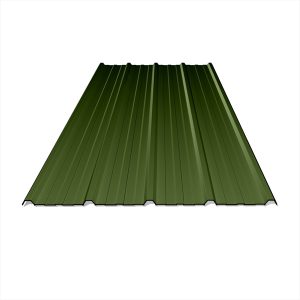
Polyester
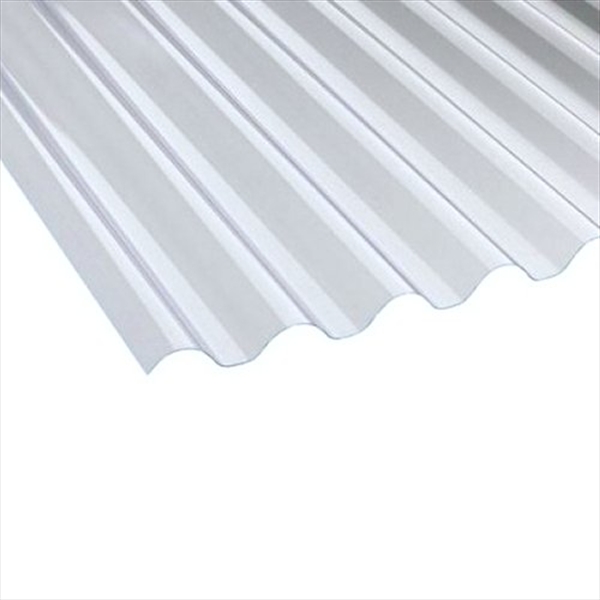
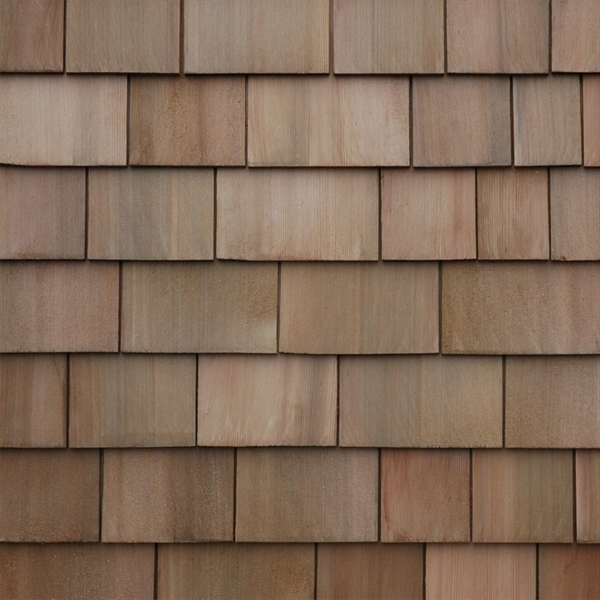
High Tensile Polyester felt is a strong, durable and economical method of waterproofing flat and shallow pitched roofing. It consists of a three layer built up system, including a top layer of green or brown mineral coloured felt and has a life expectancy of around twenty years.

polyester brown

Polyester sheets are made with TATA steel and are ideal for a variety of applications from the construction of basic storage or utility shelters through to bespoke commercial buildings or warehouses. High-quality manufacturing and a broad range of sheet sizes ensure great value for money and long-life in demanding seasonal environments.

polyester green

The steel substrate has a hot dipped galvanised coating of 275g per square metre and is primed and coated with 25 microns of high quality Polyester enamel paint. The reverse/internal surface is galvanised and coated with an alkali grey wash coat which ensures its longevity of life and has a moderate resistance to scratching.

polyester sheets

Our Polyester sheets start at just £21.15 each and are available in Goosewing Grey, Juniper Green, Slate Blue and Vandyke Brown.
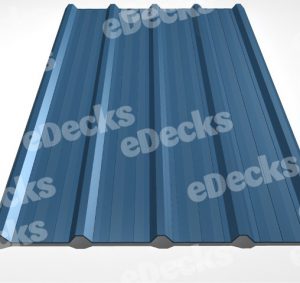
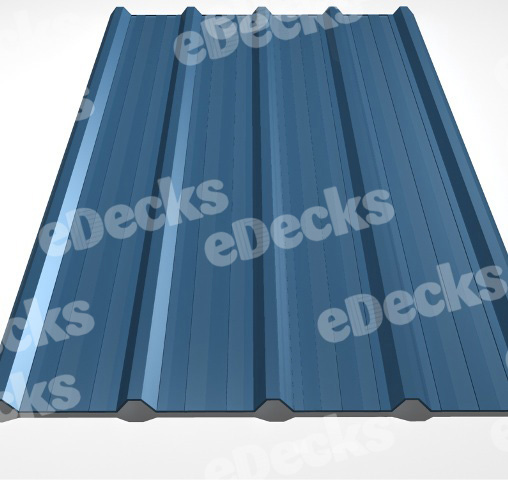
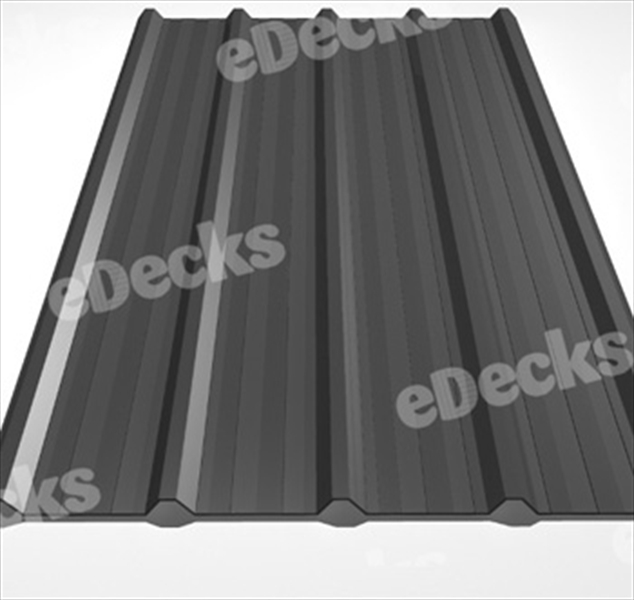
polyester blue

Plastisol
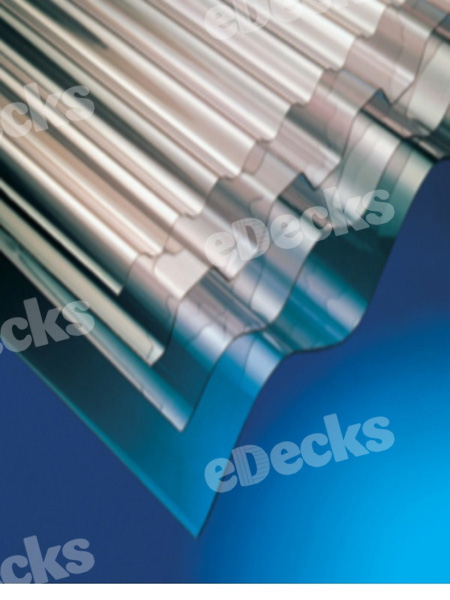
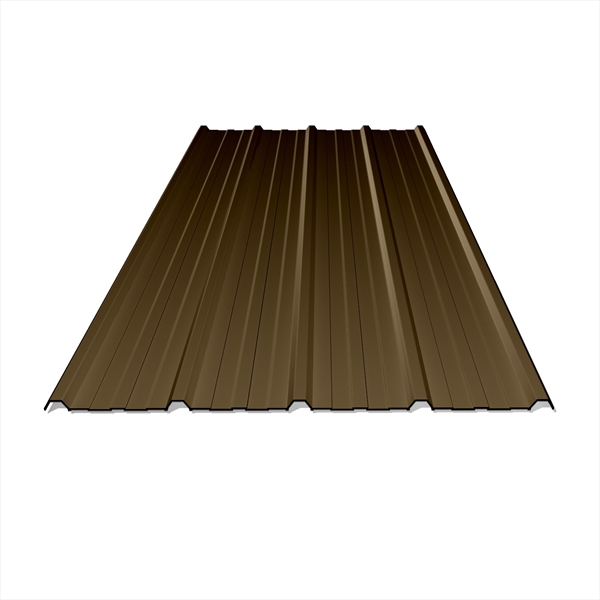
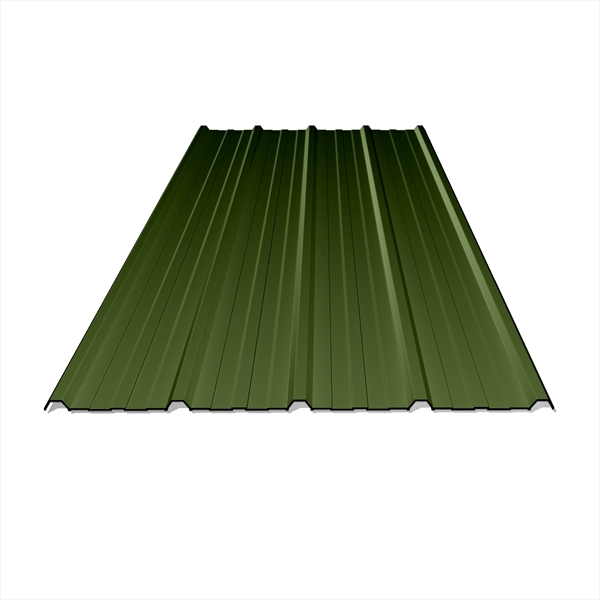
Plastisol sheets are designed to have a tough coating, giving the TATA steel sheets a high degree of protection against corrosion. They can be used for various applications, from garage roofs, industrial buildings and garden sheds.

plastisol brown

The Plastisol applied to the sheets consists of Polyvinyl Chloride based Thermoplastic Resins with short molecular chains which gives the sheets excellent resistance to UV. To produce high-quality pre-coated roof sheets, a system of multi-layer coatings is applied to zinc coated high tensile steel strips and then oven cured to ensure maximum adhesion. This then provides the sheet with a high corrosion resistance and climatic protection as well as being resistant to abrasion.

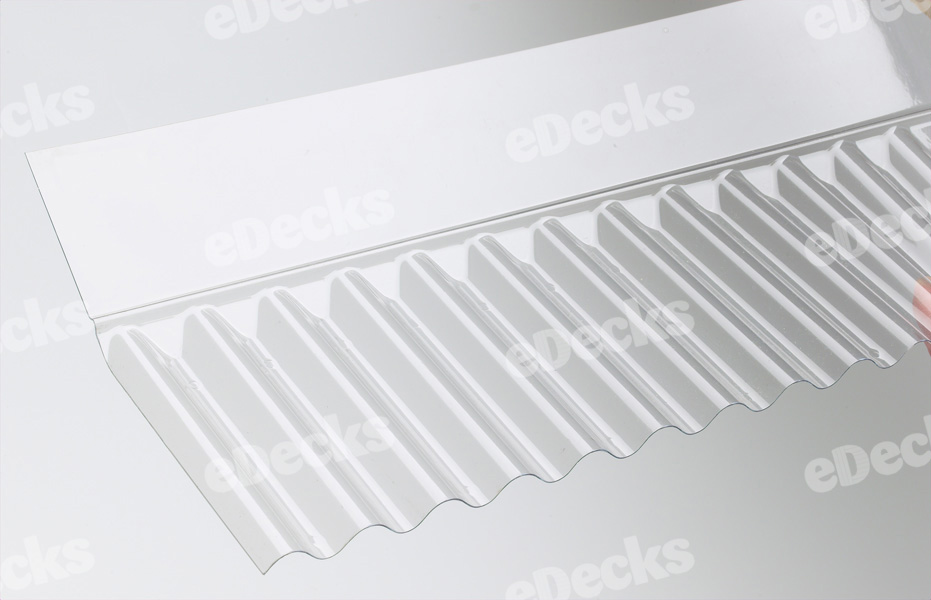
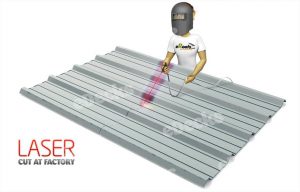
With Plastisol sheets, it is imperative that you double check your measurements as we cut them to your requirements.

plastisol grey

Our Plastisol Sheets start at £40.50 each and are available in Merlin Grey, Goosewing Grey, Olive Green and Vandyke Brown.
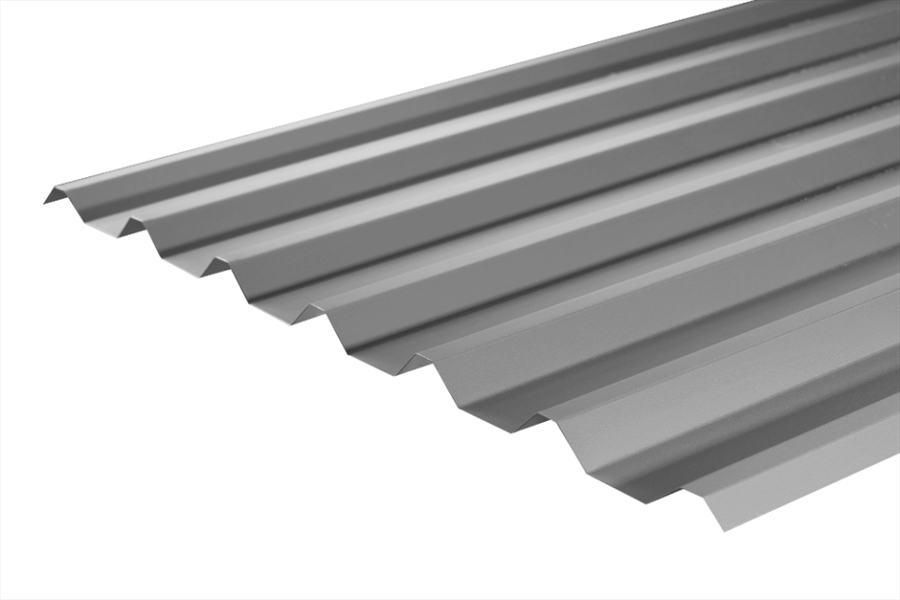
Anti-Condensation
This roofing coating is manufactured by bonding a non-woven polyester membrane to the reverse side of the sheet. The membrane then works by absorbing the formed droplets and retains them until the temperature rises, leaving the moisture to then dissipate naturally. These sheets also have improved noise reduction from rainfall due to their cushioning effect.

anti con grey

Benefits of Anti-Condensation coated roof sheets are that they are easy to clean, by simply using a hose or pressure washer, their durability compared to non-coated sheets and the fact that in the long run due to these other benefits they are more cost-effective as you will not have to continuously replace them.

As with Plastisol sheets, we do recommend that you carefully check your measurements as the sheets are cut to your specifications.

anticon merlin

Our Anti-Condensation Sheets start at £46.02 each and are available in Goosewing Grey, Merlin Grey, Olive Green and Vandyke Brown.

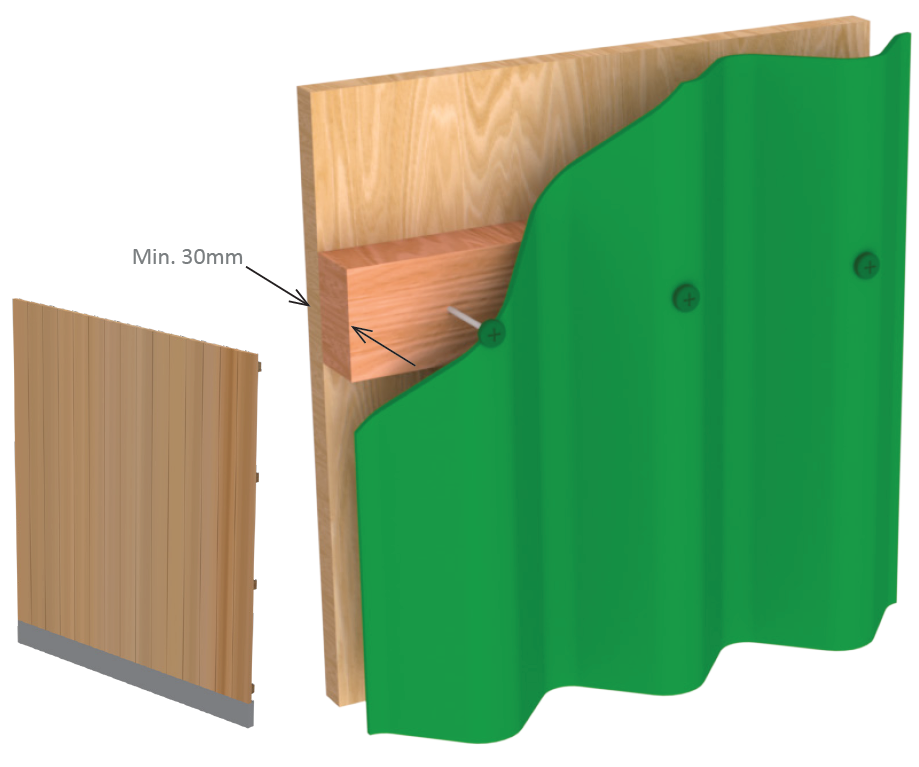
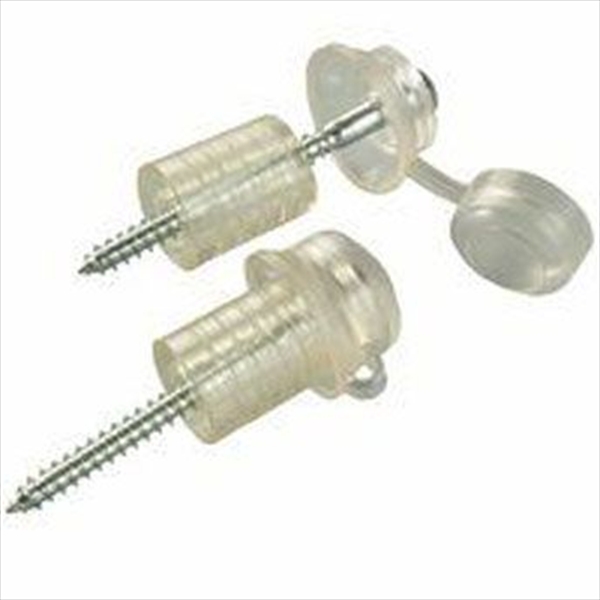
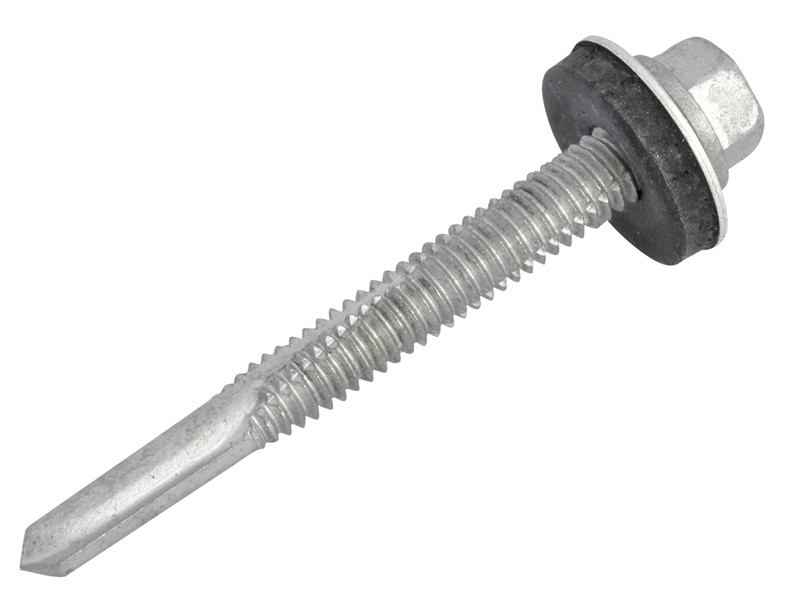
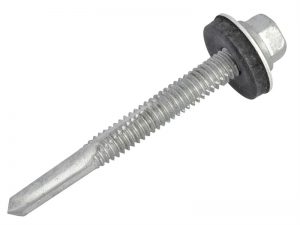
To keep your Polyester, Plastisol or Anti-Condensation coated roofing sheets secure and watertight, we recommend using Tech Bolts, which are ideal for fastening steel sheets down to timber and steel. These stainless bolts are excellent quality and are supplied with a hexagon head which enables fast and reliable installation time after time for exterior construction.

tech bolts

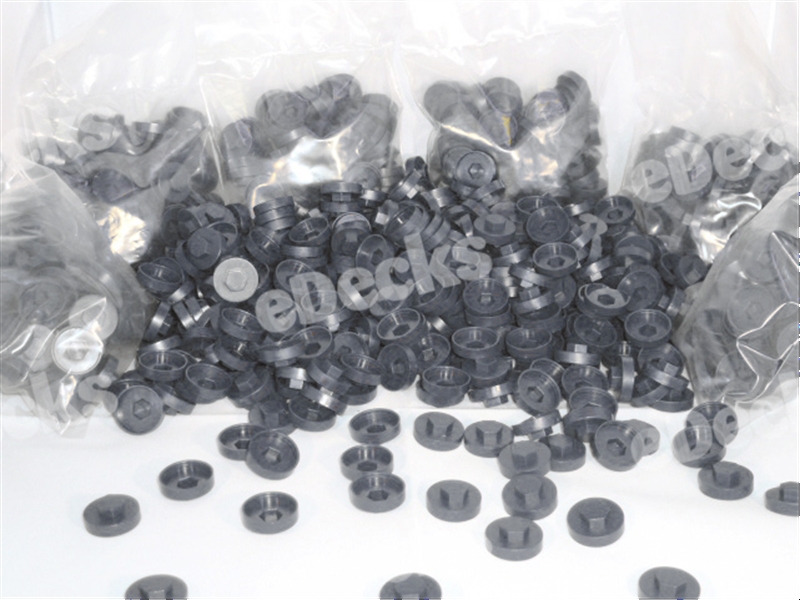
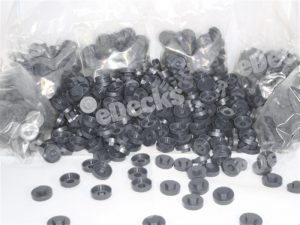
To give your roof the full finish it deserves, be sure to add our Tech Bolt Caps, which conceal the Tech Bolt heads. They are available in matching colours of Goosewing Grey, Juniper Green and Vandyke Brown and ensure a fabulous, professional finish.

tech bolt caps

eRoofs offers some of the best deals on Roofing Sheets around, including all of the supplies and tools you may need. Not only do we provide plenty of unbeatable deals but also:

A flat rate shipping charge of £25.19 applies to all polycarbonate sheets, no matter how large your order! Super-fast FREE delivery on orders over £100*

*Free delivery applies to most of the UK, but some areas may incur a charge. Please check the eRoofs website for more details.

Navigation