Category: Gardening Advice

How to Upcycle Garden Furniture

When the darker nights draw in and the weather gets colder, it’s easy to forget about our once-beloved garden furniture. They become home to spiders and bugs, fade away with the harsh weather and become unused. We’re here to help you rescue your furnishings, breathe a new lease of life into your garden again and get ready for the warmer weather!

Embrace the natural wood

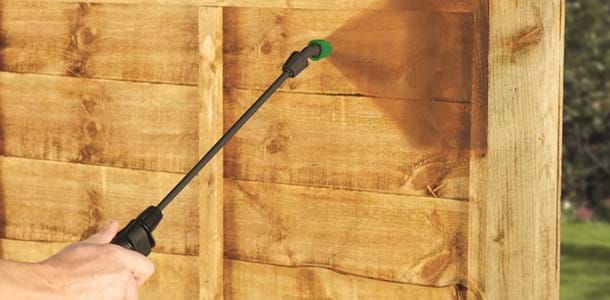
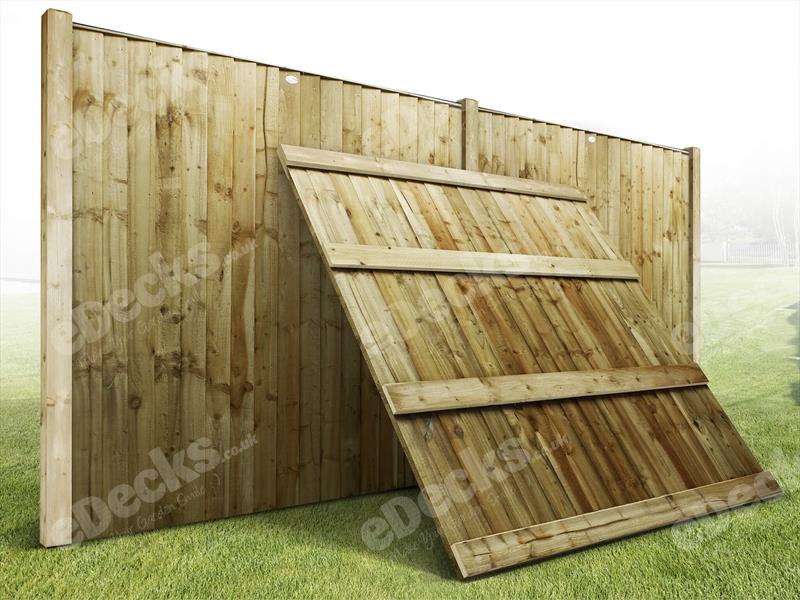
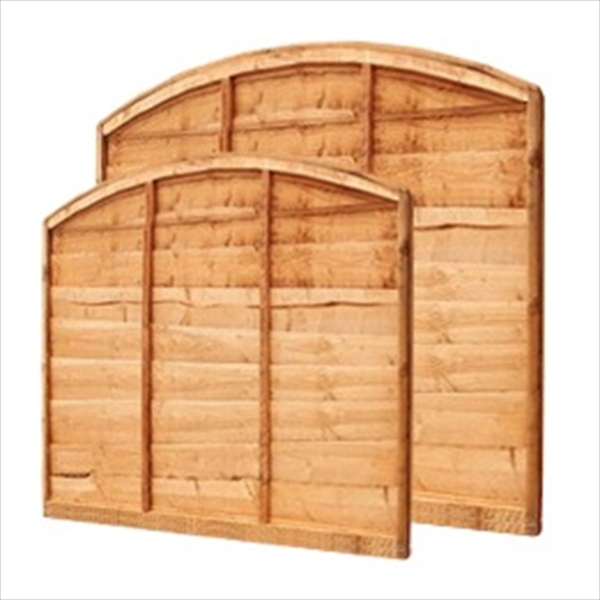
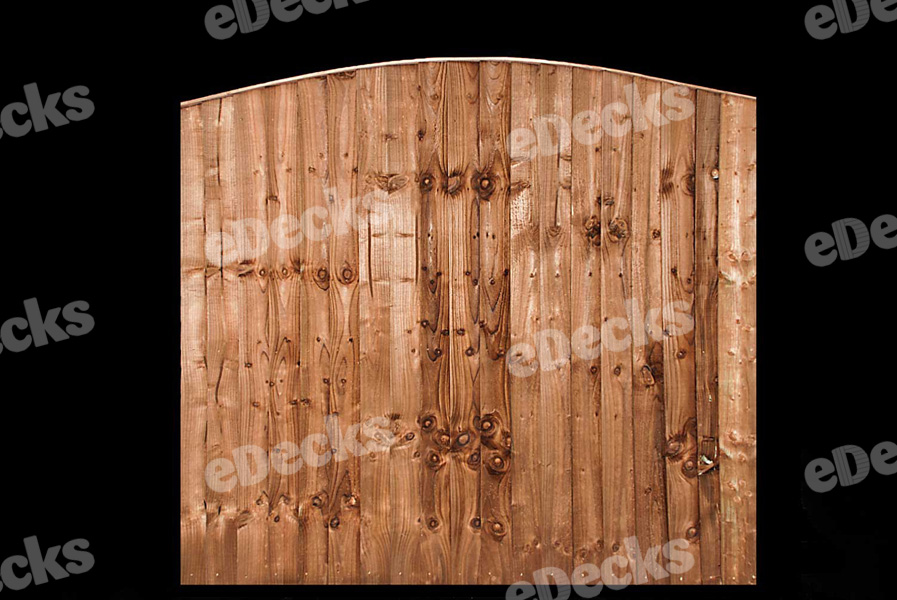
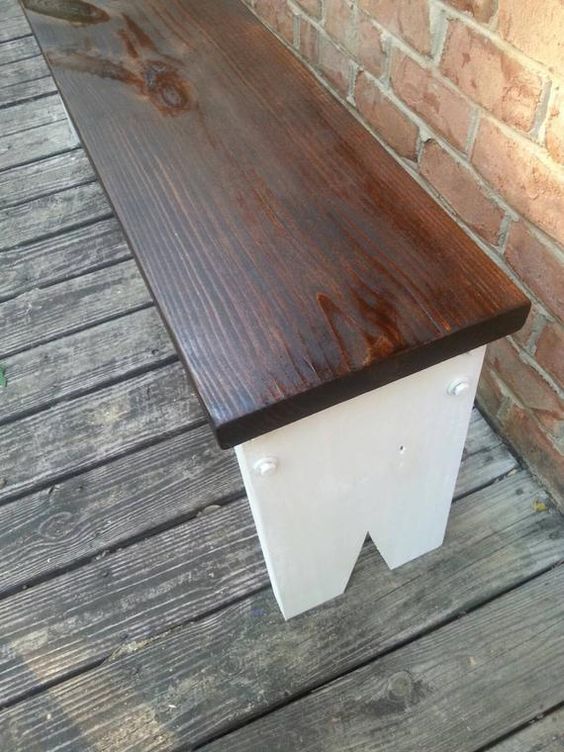
If your garden furnishings are wood, why not embrace their natural beauty? By using a wood preserver you can nourish the wood whilst adding a natural colour, which will match the natural feel of your garden. Perhaps you want to give your shed a new lease of life whilst in the DIY spirit? Shed and fence preserver allows you to match your newly renovated furniture to your garden buildings!

Natural wood preserves are perfect if your wooden garden furniture is in need of some extra TLC and the colour will last years so you don’t have to keep doing it every summer. You’ll also be able to enjoy your garden as soon as the warm weather returns!

Give your furniture a new life

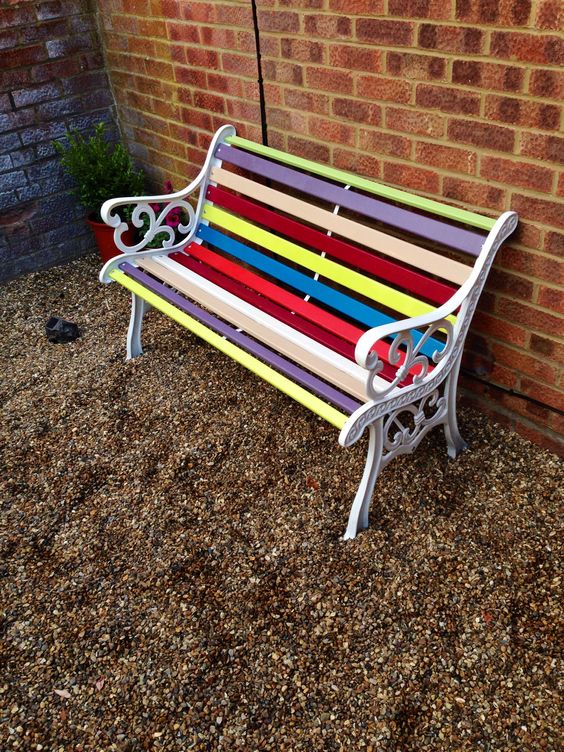
Why not go bright and bold? We carry a wide range of colourful furniture paint that can bring your garden furniture to life. Adding a pop of colour can turn furnishings into the focal point of your outdoor area. If you’re also short on space it can add a playful touch and brighten up even the smallest of gardens!

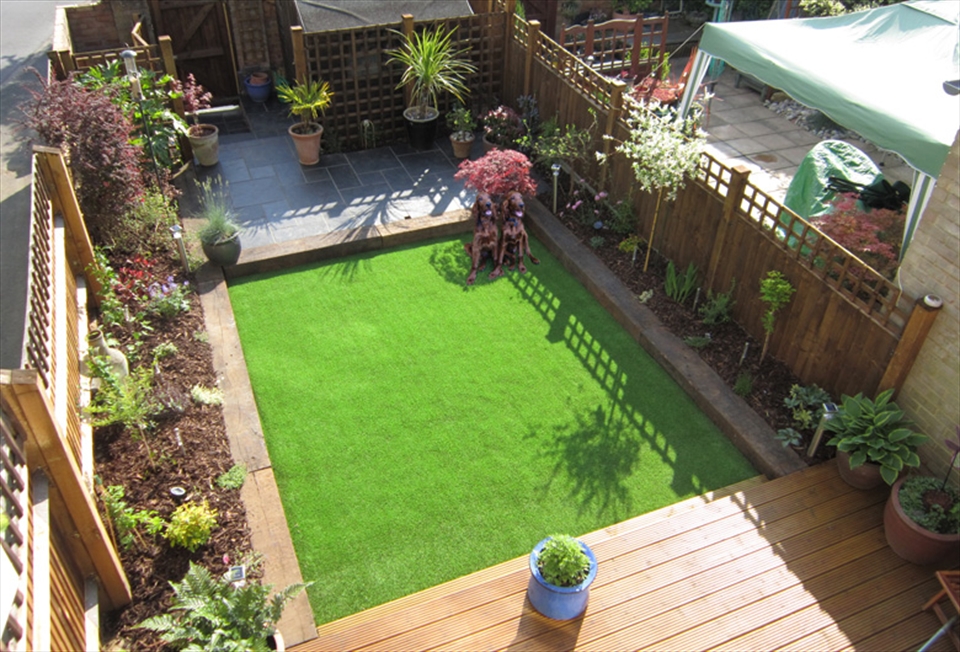
If your garden is filled with greenery, it’s a good idea to match your furniture to its prominent colours. By doing this, you highlight the natural beauty of your plants. Why not try one of our bright greens to go alongside bright artificial grass or a neutral grey to match a decking stain or a neutral interior, bringing the inside outside?

Cheat the system

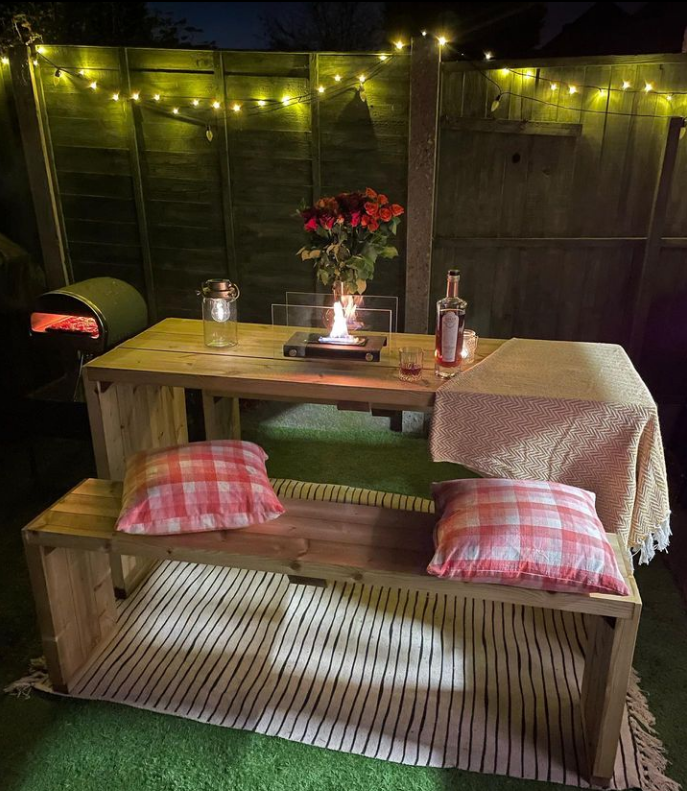
Looking to cut the painting job in half? You can take a shortcut by draping a tablecloth across a tired old table or some brand-new chair cushions can help to transform your furniture from shabby to chic and hide all your sins (just make sure you don’t leave them out in the rain!)

Don’t want to DIY or upcycle? You can always cheat by shopping our great range of garden furniture here at eDecks. We offer beautiful, natural furnishings like garden benches, picnic tables and contemporary dining sets. If you’re inspired to go colourful though, you can always shop for our colourful paints and stains alongside garden furnishings.

Looking for the best deals on upcycling materials?

Check out our amazing deals here on the eDecks website!

We also offer plenty of support and expert advice for most projects – and any products we sell online. Contact eDecks here for personalised advice for your project today.

At eDecks you can not only expect a good deal but also:

Superfast FREE delivery on orders over £150*

48 hour delivery on many products

Handy FREE installation guides (and even instructional videos!)

*Free delivery applies to most of the UK, but some areas may incur a charge, unfortunately – please check the eDecks website for more details.

Fence Panels: Which Treatment is Best For Me?

Image: Ronseal

Know the difference, save time and work.

If you’ve been shopping around the internet for anything timber related during the various lockdowns be it sheds, fencing, decking or garden buildings you will have undoubtedly stumbled across the terms “pressure treated” or “dip treated” timber.

These treatments are an important factor when buying anything made from wood, the treatments offer varying levels of protection. Let’s take a look at the difference between the two methods and how each one benefits us.

The great news is both treatments protect against rot and decay. We pre-treat most of our fence panels right here before it reaches you, the customer.


Dip Treatment.

Dip treated fence panels have a golden brown appearance.

The method is exactly as the name suggests! Simply dipped into the treatment solution and left to dry. This gives the wood a brown/golden appearance and often results in a lower cost product.

The draw back to dip treatment? It doesn’t last as long and will need additional applications. This can be done at home with a brush/spray on solution.

Most people treat their fence/shed every year or every other year depending on weather conditions.

Before treating at home, make sure the surfaces are free from any algae, dirt or existing paint/stain. For best results from the treatment it must be used on bare wood.


Pressure treatment.

Pressure treated fence panels do not require additional applications.

If the thought of having to re-treat your timber products year after year makes you shudder at the very thought then pressure treated fence panels are the way to go!

When pressure treating timber after it’s been cut to size, It’s placed into a large tank which is sealed before the air is removed via a vacuum.

By removing the air & moisture within the timber, you are left with more space deep within it, and so after the air has been removed, the tank is flooded with a preservative.

Once the tank is full, the air is removed for a second time which forces the preservative deep into the grain of the timber. Pressure treatment is so deeply penetrated into the grain of the timber that reapplication is rarely needed and provide far more protection against rot and fungal decay.

The majority of our pressure treated fence panels come with a ten year guarantee against rot and fungal decay, meaning that the initial cost may be a little higher, but will save you time and money in the future.


So the simple answer is.

If you don’t mind the upkeep and are on a budget, dip treated fence panels are just fine.

If you would rather have panels that have been treated for a longer life before they even reach you then make sure you check that they have been pressure treated.

eDecks offers some of the best deals on Dip Treated and Pressure Treated Fence Panels around, including all of the installation supplies and tools you may need. Not only do we provide plenty of unbeatable deals but also:

Super-fast FREE delivery on orders over £150*

48 Hour Delivery on many products

Handy FREE installation guides and instructional videos

*Free delivery applies to most of the UK, but some areas may incur a charge. Please check the eDecks website for more details.

Weed Membrane: Woven v Non-Woven

Creating your perfect garden landscape can be hard work, but there are products out there that work all by themselves to make your life so much easier! Weed membrane fabrics are making a huge difference to modern gardens by stabilising the ground, improving drainage and filtration, separating aggregates and spreading imposed loads. Ensuring you choose the right weed membrane fabric for your project means understanding the differences between them – a key one being whether they are woven or non-woven.

n_160341_31

Woven Weed Membrane fabric is made by weaving polypropylene tapes together. Using this crisscross pattern makes the fabric super-strong but limits its drainage capabilities compared with the non-woven variety. The strength and hard-wearing qualities of woven weed membrane give it a high tensile strength, making it suitable for use under patios, paths, parking areas and for other applications where a high strength but economical membrane is essential.

Although Non-Woven Weed Membrane has a lower tensile strength than the woven type, it still offers great strength, durability and excellent drainage properties. Non-woven weed membrane is a felt-like fabric made by thermally bonding polypropylene or a mixture of polypropylene and polyester fibres and then finishing using needle punching, calendaring and other methods. This type of fabric is easier to cut, has a high water permeability rate and does not lose strength over time, in the same way as the woven fabric does, when used below ground. This makes it ideal for use beneath driveways and roads and in land and storm water drainage systems, where long-term ground stabilisation and filtration is required.

Woven or non-woven weed membrane can be a gardener’s best friend and whether you are looking for ground stabilisation, separation of sub-base layers, aggregates and other materials, or drainage and filtration, there is now a fabric that is right for the job.

Weed Membrane

eDecks offers three different types of Woven Weed Membrane, including a Standard strength, Heavy Duty and Super Heavy Duty. Whether it is under your deck, paving, driveway or planting area, weed membrane will prevent nasty weeds coming through. As well as reducing garden maintenance, weed membrane allows water and nutrients to penetrate the soil.

eDecks offers some of the best deals on Weed Membrane around, including all of the installation supplies and tools you may need. Not only do we provide plenty of unbeatable deals but also:

Super-fast FREE delivery on orders over £100*

48 Hour Delivery on many products

Handy FREE installation guides and instructional videos

*Free delivery applies to most of the UK, but some areas may incur a charge. Please check the eDecks website for more details.

Fencing: A Guide to Overlap and Vertilap Fence Panels

Fencing is a good option for adding privacy and security to your garden and with Spring on its way, it’s a good time to stop and take stock of your garden plans for the seasons ahead. Dependent upon budget, purpose and size, the variety of fence panels available is plentiful and choosing the right fit for your garden can be a struggle, however, here at eDecks we like to make things as simple as possible for our customers, and we will equip you with the knowledge you need to make a decision on what works best for you.

overlap arch
Overlap Arch

vertilap arch
Vertilap Arch

If you would prefer a heavier duty fence panel, then vertilap fencing is the best way to go. The design means that each wooden board covers part of the next and so allows no light through yet creates a very private fencing area, as well as adding strength to the fencing panel. The added strength is excellent for security, but also helps if you or your neighbours has pets, so that they stay on the correct side of the fence. They are available in both vertical and horizontal overlaps, some boasting heavy duty boards and even made to measure.

overlap brown
Overlap

vertilap
Vertilap

If you are on a budget, overlap fence panels are a common and wallet-friendly solution. Whilst these panels are not quite as strong as alternatives such as vertical lap panels, they are super easy to install, as well as being inexpensive whilst still providing your garden with privacy. With our handy guide below you can install your very own garden fencing area!

  • 1: Ask the Neighbours – Every new fencing project should begin with consulting your neighbours; this has as much to do with keeping good relations as it does practicality as constructing a new fence is always easier to do if you have access to it at both sides.
  • 2: Pick a Type – It is important to find the right type of fencing for your garden, and here at eDecks we offer a wide range to choose from so it is worth considering what you are wanting from your fence before making a decision. Overlap fence panels are constructed from overlapping horizontal boards and offer high levels of privacy at a very good price, with heavy duty vertilap being the strongest fence panels, offering a perimeter fencing that is very sturdy with a high privacy level. To calculate how many fence panels to buy, start by measuring the area that you want to cover. Since fence panels are usually 6ft wide, you need to divide the length of ground by six to calculate how many panels you will need. For example, an area of 30ft would require 5 panels.
  • 3: Post It – With your fence panel designs taken care of, it is time to then get started installing the fence posts. Steel fence posts are by far the more sturdy option in comparison to wooden fence posts, but they do require more effort to put up. Timber posts on the other hand, are relatively easy to erect so they’re perfect if this is your first time building a fence. If you are using timber posts, we do recommend extending their lifespan by using a wood preserver of your choice.
  • 4: Supporting Cast – Next up, you will need to set the posts in using concrete or steel fence supports to keep them in place. Both methods are good options for securing your posts in the ground, although if you choose to set your posts in concrete, you will require longer fence posts. For a six foot high fence, you will need eight foot long posts, as they will need to be buried at least two feet deep. If you are using steel supports, then these can be the same as the fence panel length.
  • 5: Let’s Prep – Begin preparation by marking the line your fence will follow with string, attaching it to posts along the boundary line. Any climbing plants or dense grass should also be cut away to allow easy access to the area.
  • 6: Diggin’ It – If you are using wooden posts, make sure the holes are at least two feet deep; any shallower and your fence will become wobbly during strong winds. Using your boundary string line as a guide, dig holes at both ends of the line, aiming for holes that are three times wider than the width of the posts. For example, if your post is 4x4inches, dig a hole 12x12inches wide. This will ensure the concrete foundation will be sturdy enough to secure your posts. Mark an 8ft scrap of timber two feet above the bottom to make sure that the depth of the holes are correct and if the mark lines up with the ground, your postholes are deep enough. If you are using steel fence supports, place a piece of scrap timber into the support and hammer that into the ground until the top of the steel support is level with the ground.
  • 7: Set in their Ways – If you are using steel supports, you will not need to worry about securing your posts in the ground, but if you are using wooden posts, you will need to set concrete around them to hold them in place. Once the first and last postholes are ready, position your post and ask a friend to hold it in place. You can mix your own concrete if you prefer, but a 1kg Postcrete mix will work just as well. The Postcrete mix will set in just a few minutes so ensure that your posts are straight using a spirit level. Slope the concrete away from the post using a trowel to get the water to run away from the base of your posts. Next, attach a new line of string on the top of your bookending posts to make sure the other posts line up correctly all along the boundary. You can also use this line to quickly check that the heights of your posts are correct too. With the line in place, you are then ready to continue digging the other holes if you haven’t already done so. Measure out and mark the position of the holes by placing the fence panels against the first post.
  • 8: Putting up the Panels – Now that the posts are in place, nail the post clips to the fence post first and then onto the fence panel. Two or three U-shaped clips per post will be enough to hold the panel in place. Keep the base of your panels from rotting and installing gravel boards. You can protect the top of your posts by using a decorative post cap. Prevent the cap from splitting by drilling a hole into the cap before you attach it to the post.

overlap
Overlap

vertilap concave
Vertilap

eDecks offers some of the best deals on maintenance-free Overlap and Vertilap Fence Panels around, including all of the installation supplies and tools you may need. Not only do we provide plenty of unbeatable deals but also:

Super-fast FREE delivery on orders over £100*

Handy FREE installation guides.

*Free delivery applies to most of the UK, but some areas may incur a charge. Please check the eDecks website for more details.

10 Year Guarantee against rotting! *Provided all products have been fitted and maintained to the manufacturer’s recommendations. *

Navigation